Detailed Guide To Using A Meat Slicer With Confidence

Detailed Guide to Meat Slicers
What is a wine tasting session without a platter of finely sliced meat? Pretty disappointing, that’s what! And if you're like me, you're also tired of paying a premium every time you shop for thinly sliced turkey, ham, and chicken.
Today, we’ll talk about meat slicers and how you can get thin, delicate slices of meat without paying higher prices.
To be honest, a meat slicer can look intimidating to use at first, but it can be a great asset for both home cooks and seasoned chefs. Meat slicers are not limited to slicing only meat. We'll discuss some of those ways while showing you how to keep your slicer clean and sanitized.
1. What is a meat slicer?
A meat slicer can also be known as a slicing machine, deli slicer, or even a carving knife. Electric meat slicers are often used in butcher shops and delicatessens. As the name suggests, this equipment is used to slice meats, sausages, cheeses, and other deli products in seconds with less effort, compared to doing it manually.
Most electric slicers can be adjusted to cut slices of different thicknesses. Some older models of meat slicers are operated by a crank while the more recent models use an electric motor.
Today, in the market you will find a variety of different slicers based on your needs.
Here are the 3 types of slicers that you can find:
- Light-duty: This is low-volume equipment that can be used to slice meat or vegetables. These machines work best when used for an hour or less per day and are not designed to slice through frozen items.
- Medium-duty: This is a great substitute for when you need something more powerful than a light-duty one, but not as powerful as the heavy-duty one. These slicers can withstand several hours of use per day and is a great option if you want to invest in a small meat slicer. You can also use this to slice up cheese however, it should only be cut for a maximum of 30 minutes or as advised in the user manual.
- Heavy-duty: Most top-of-the-line models fall into this category. Even large restaurants use this type of slicer. Know to be the best of the best when it comes to meat slicers, the motors of this equipment are designed to withstand intense use and are slightly costly. These slicers can also be used to work with frozen meat.
2. Electric Meat Slicer vs. Hand-held Meat Slicer
When it comes to choosing a meat slicer, everyone gets confused between an electric deli meat slicer and manual meat slicers, especially if you are new to the world of cooking. While both devices perform the same task, there is a huge difference in the way they are operated. So to answer your question, “What is the difference between an electric deli meat slicer and a manual one?” I have listed out some major points that will help you make an informed decision.
|
Attribute |
Electric Meat Slicer |
Manual Meat Slicer |
|
Functioning |
This contains a motor that drives the blade for cutting through the meat. |
You'll need to rotate the blade manually to slice the meat. |
|
Ease of Use |
This type of meat slicer is operated electrically and usually are automatic device. They also come with an additional motor to drive the food carriage. With an electric food slicer, you only need to plug it in and guide the meat to the blade. |
You need to put lots of effort to slice meat with a manual or hand-held slicer. Also, the operator needs to have more strength to slice the meat correctly. |
|
Safety |
If you can’t apply a certain amount of force to cut the meat, then electric slicers are a safe option for you. There is little to no chance of getting injured with an electric slicer. |
Since you need to operate the manual meat slicer by hand, there are chances of getting injured. |
|
Purpose |
If you're running a restaurant, then this type of slicer (such as a deli meat slicer) is perfect because it can help slice up larger amounts of meat faster. Most commercial meat slicers are electric. |
For slicing larger amounts of meat, this is not a good option. Manual slicers should not be considered for commercial purposes. However, you can use it to slice up small amounts of meat at home. |
|
Price |
Electric deli meat slicers are typically more expensive than their manual counterpart due to their ease of use and efficiency. If you need to slice larger quantities of meat, it might be better to shell out at least $200 for a slicer that can handle larger amounts of meat or vegetables. |
Often costing under $100, these slicers are suitable for people who only want to slice a few pounds of meat at a time. |
|
Maintenance |
Thoroughly cleans the slicer and sharpen the blade every four hours if you're using it consistently.
|
Clean your meat slicer and sharpen it with a sharpening stone specially designed for meat slicers. Only sharpen a clean blade and be sure to disinfect it after sharpening. Have your machine serviced regularly or as recommended by the manufacturer. |
|
Drawback |
This type of slicer is dependent on electricity to run so if the power is down, this meat slicer will not work and you'll need to use it in manual mode. |
Because this slicer is controlled manually, it can cause fatigue, making the slicing process seem like a lot of work. |
3. How to Cut Meat using a Meat Slicer
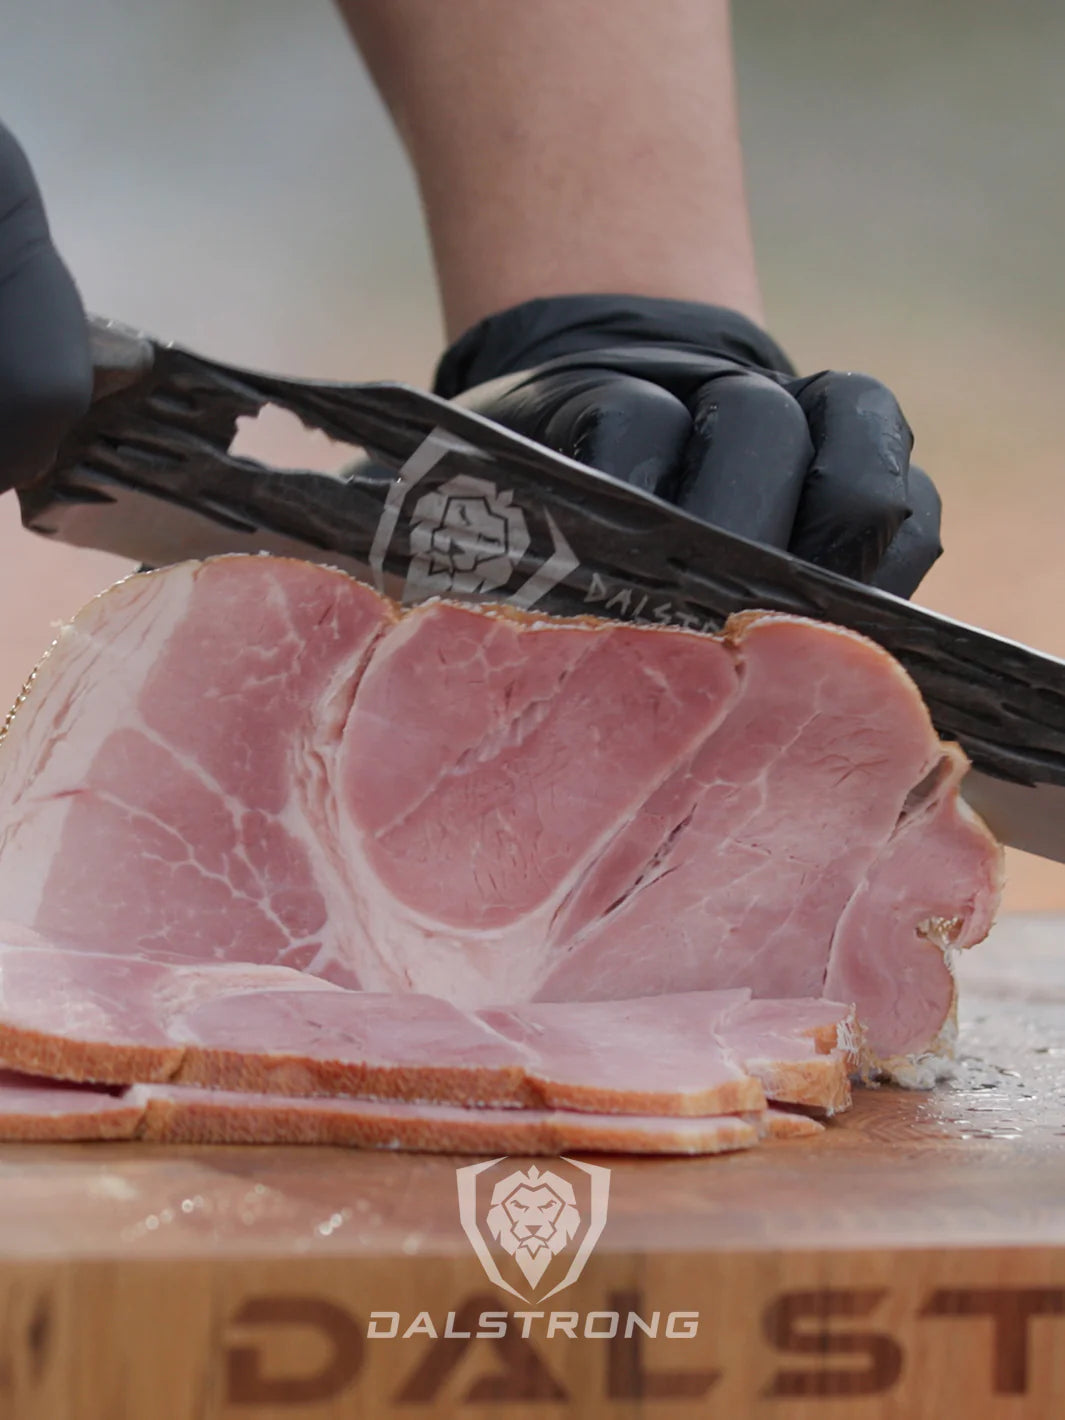
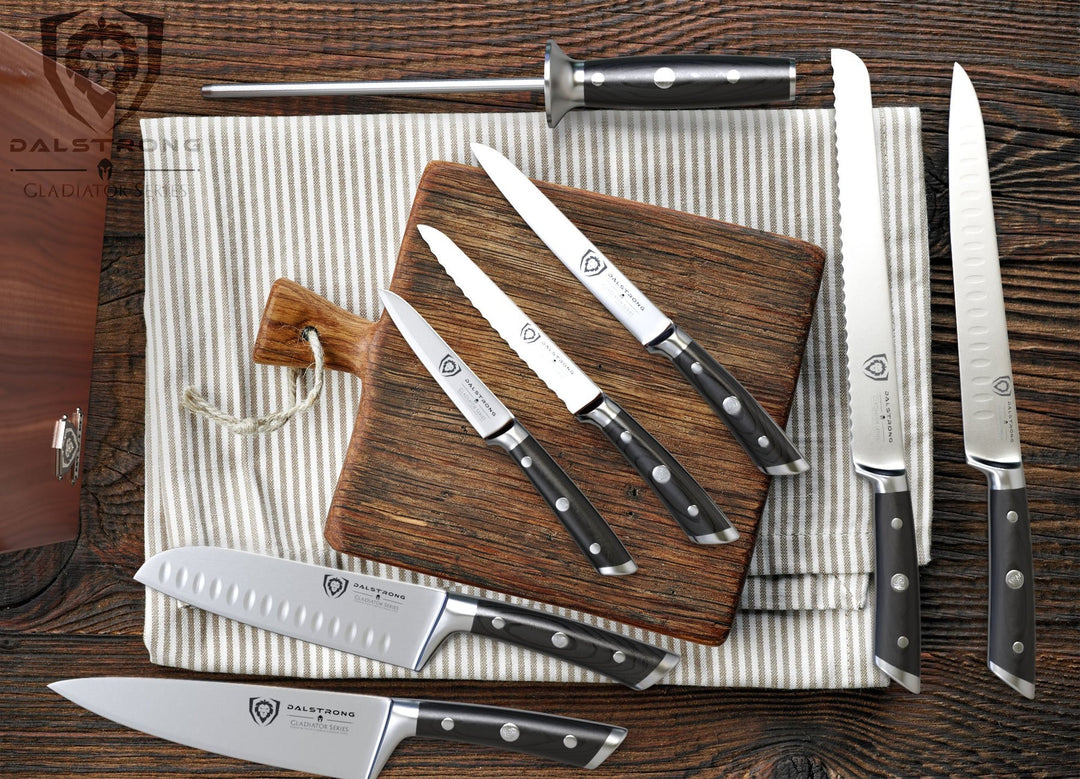
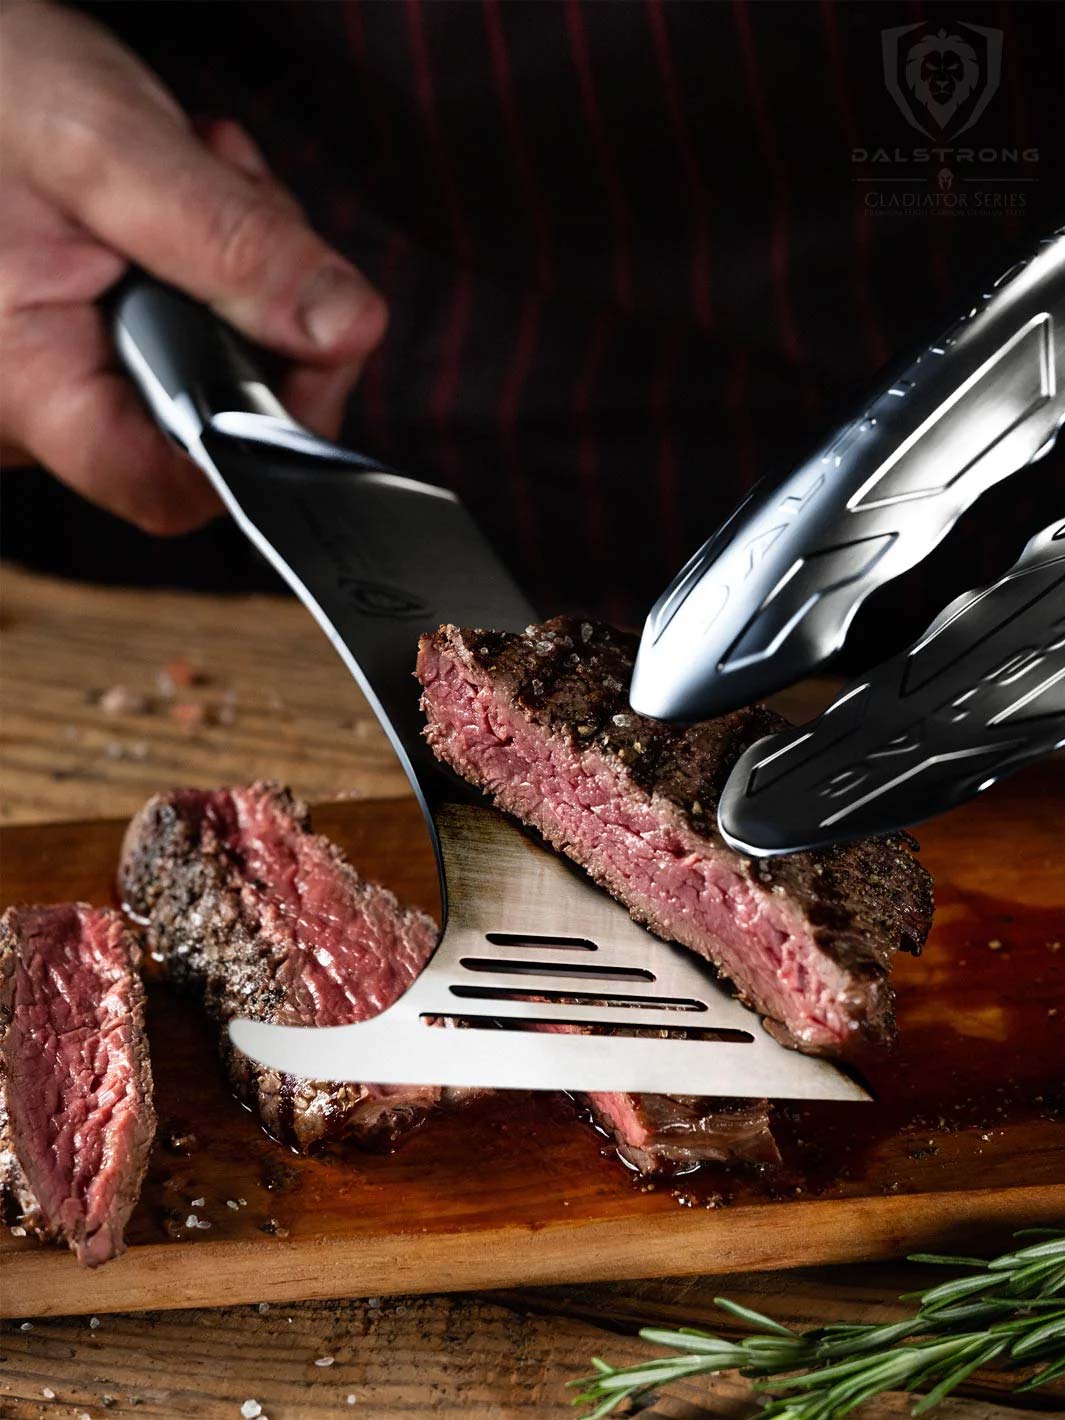
 14'' Serrated Slicer | Gladiator Series | Dalstrong ©
I’ll admit that this is one of the most intimidating kitchen gadgets, especially for home use. Trust me, you can conquer it in no time if you follow the steps that I have listed below.
Step 1: Place your food in the slicer safely
Get started by opening the clamp arm and placing the food you want to slice into the food carriage. Close it. You must make sure that the cut of the meat or cheese is firmly held in place on the carriage surface.
I suggest you place wax paper on the meat slicer where your slices will eventually fall. This will help your slices of meat from sticking to each other.
Step 2: Adjust the thickness of the slices
The thickness of the meat slice is entirely up to you to decide. Use the knob (see your user's manual) to adjust the thickness of slices. The blade will move closer or further away from you. I suggest you cut sample pieces to try it and then make any further adjustments that may be needed after you do step 3.
Step 3: Turn on the meat slicer
Now it’s time for you to turn on your meat slicer. Once on, the blade will start rotating quickly. Be safe and make sure you're paying attention at all times.
If you are using a manual slicer, you will skip this step.
Step 4: Make Swift Slicing Motions
You must note that this step is much easier if you have a manual slicer than a commercial meat slicer. However, what you should remember is that the key is being gentle and keeping calm.
If you are using an electric food slicer, slowly push the sliding tray forward. The blade will go through the meat and drop the slice to the left of your machine.
Typically, when it comes to this part, manual food slicers are much easier to handle. Simply bring down the blade on the cut of meat or cheese and then bring it back up.
Step 5: Turn off the meat slicer
Once you’re done slicing, turn off the slicer and unplug it. Ensure to dial back the index knob to zero so the blade is up against the machine. Don’t forget to do this as it will make sure you don’t accidentally cut yourself on the sharp blade while moving the slicer.
Step 6: Clean the meat slicer
This is a very, very crucial step and for that reason, I am going to dive into some details so bear with me.
While it is super important to know how to use a meat slicer safely, it is also important to know how often it should be cleaned. First things first, remember to clean every crevice of your slicer - especially a stainless steel meat slicer - from the carriage surface to the meat slicer blade cover. Also, remember to wear cut-resistant gloves whenever possible.
Meat slicers that are used continuously (like at a grocery store or food truck) need to be cleaned and sanitized several times a day. The slicer's blade guards, food trays, meat pushers, everything has to be cleaned with soap and degreaser spray. The FDA has guidelines in which they recommend sanitizing meat slicers every 4 hours, as long as they are in constant use.
For meat slicers at home, the FDA guidelines are slightly different. If you are only using the meat slicer for less than for hours at a time, you can clean and sanitize it only when you’re done. But if you plan on using the slicer for an entire day, you must follow the “Clean and sanitize every 4 hours” rule.
No matter how you do this, make sure you’re cleaning the slicer thoroughly.
Secondly, you need to know that cleaning and sanitizing a meat slicer are not the same thing. Cleaning a meal slicer means removing food residue from your machine. When you wipe down the blade, tray, and pusher with a paper towel, you are only removing the grease and gunk from the raw meat that builds up when the machine is working.
But, there are small and large food particles that you don’t get rid of. That is why you need to sanitize the machine after cleaning it. The sanitization process kills harmful bacteria that could build up and go unnoticed. Not completing this step properly could put your health or your customer's health at risk.
Long story short, you need to remember that only a cleaned and sanitized meat slicer can promote food safety.
4. Best Ways to Keep a Meat Slicer Sharp
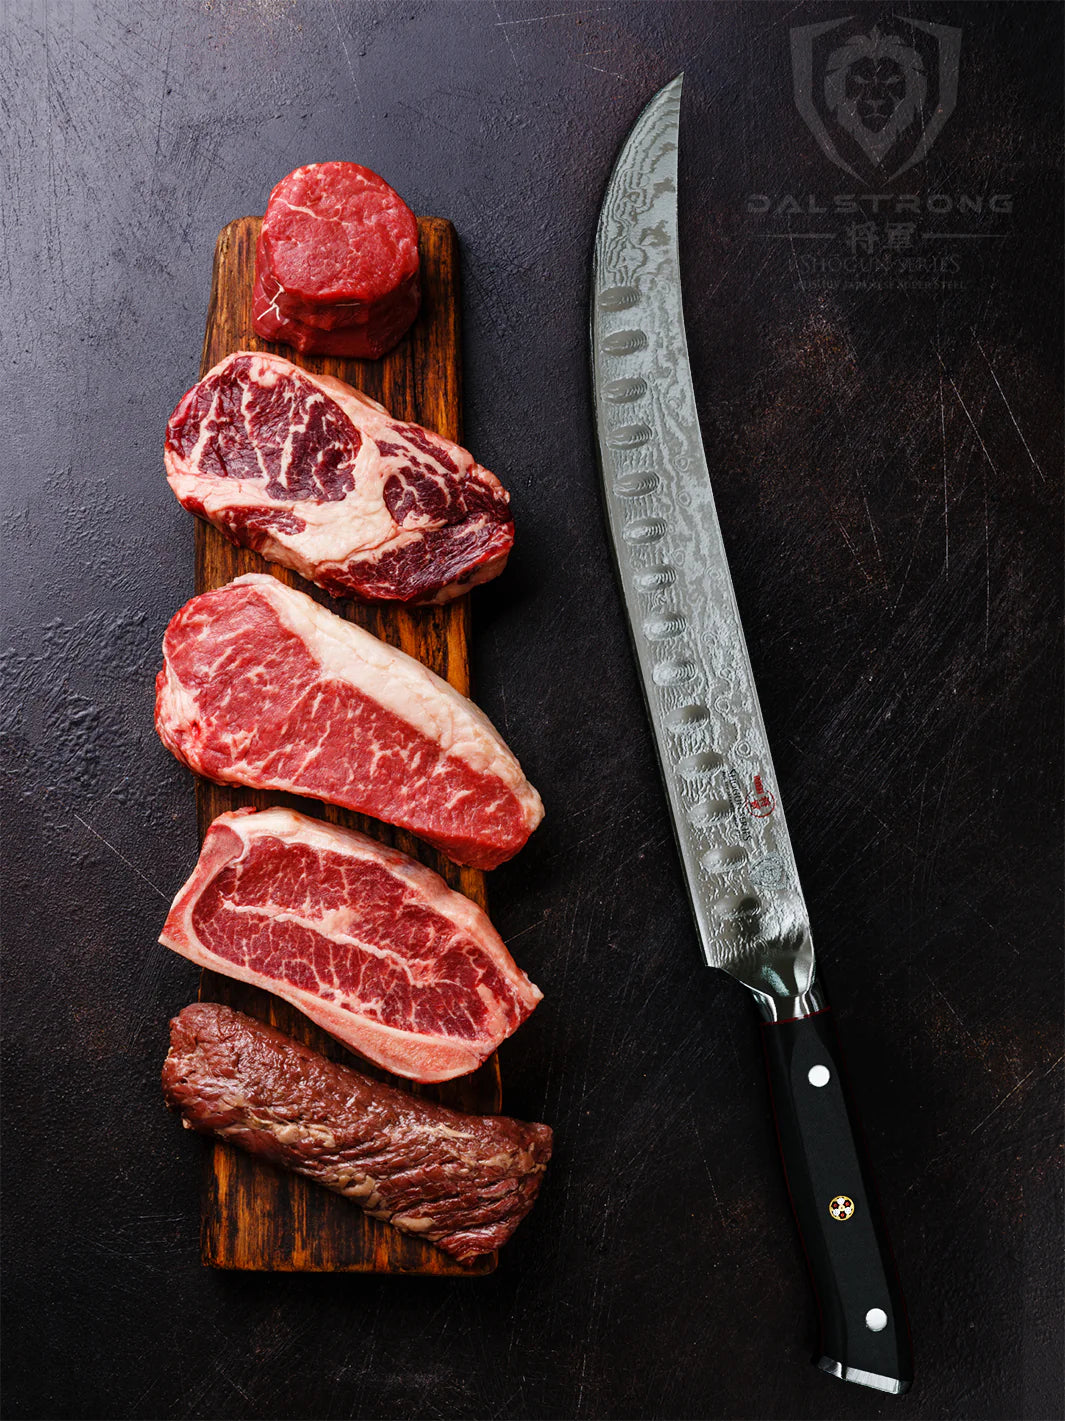
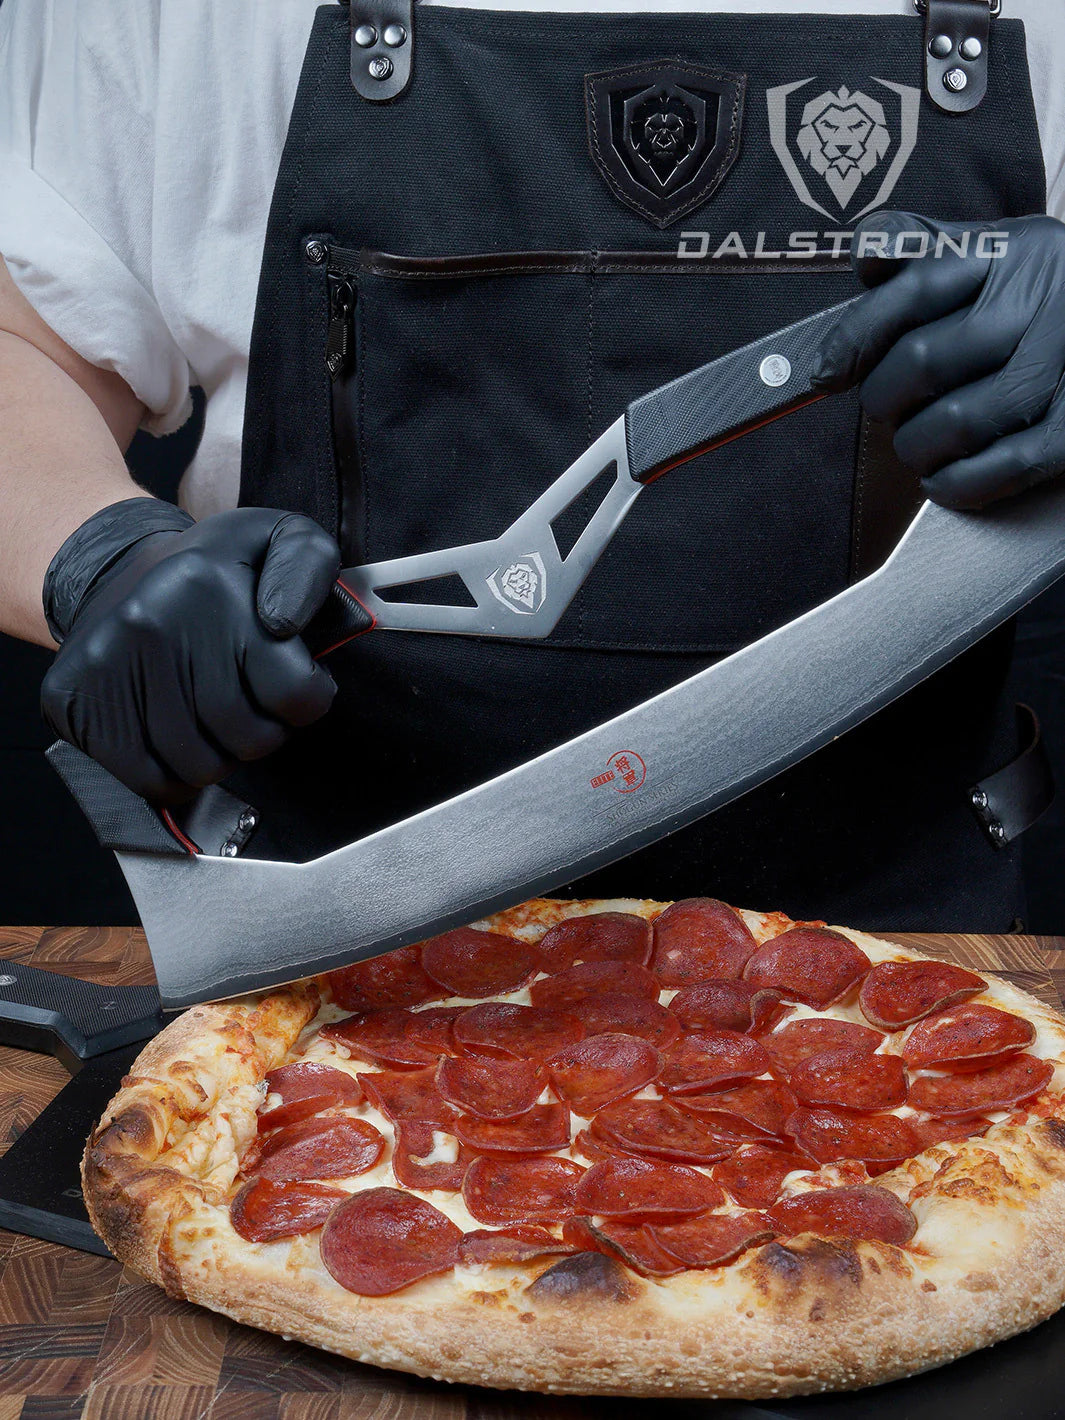
 Offset Slicing Carving Knife 12" | Shogun Series ELITE
Before you get to sharpening your meat slicer blade, you need to know when the blades should be sharpened. When your meat slicer starts making a mess of your meat while slicing, that’s a hint that it’s time to sharpen the blades.
Another sign that indicates that the blades have become dull is when the tool stops producing the uniform cut of meat that you desire. If the meat begins to shred when you slice it, it's time to sharpen the blade.
The Process:
|
Sharpening a Meat Slicer |
|
|
Step 1: |
Start by turning off and unplugging the meat slicer. If you had the device running for a while, let it cool down. |
|
Step 2: |
Open the cover of the blades and wipe the blades using a dishcloth and detergent water. Rinse the blade and then dry. |
|
Step 3: |
Apply some lubricating oil or cooking oil on the blade. Adjust the blades touching the sharpener stone following the instructions from the manual given with the device. Note: If you are using a whetstone, make sure that the stone is close to the end of the blades. |
|
Step 4: |
Now turn on the slicer and let the blades spin for a bit. This is called grinding. If the whetstone is being used separately, make sure it does not fall off while spinning. |
|
Step 5: |
Switch off the device and check if the blades are sharp enough. If you feel the blade is still dull, continue this process once again. |
|
Step 6: |
Once done, clean the blades again with warm detergent water. This will help make sure that all the dust and metal particles are washed away. |
|
Step 7: |
Grab a new washcloth to apply sanitizer or alcohol on the blades. Then, apply this to the whole machine. |
|
Step 8: |
When everything has dried completely, put it back together and make sure nothing is left loose. |
|
Step 9: |
Make sure to place your machine away in a secure and dry place. |
5. Best Meat Slicing Knives
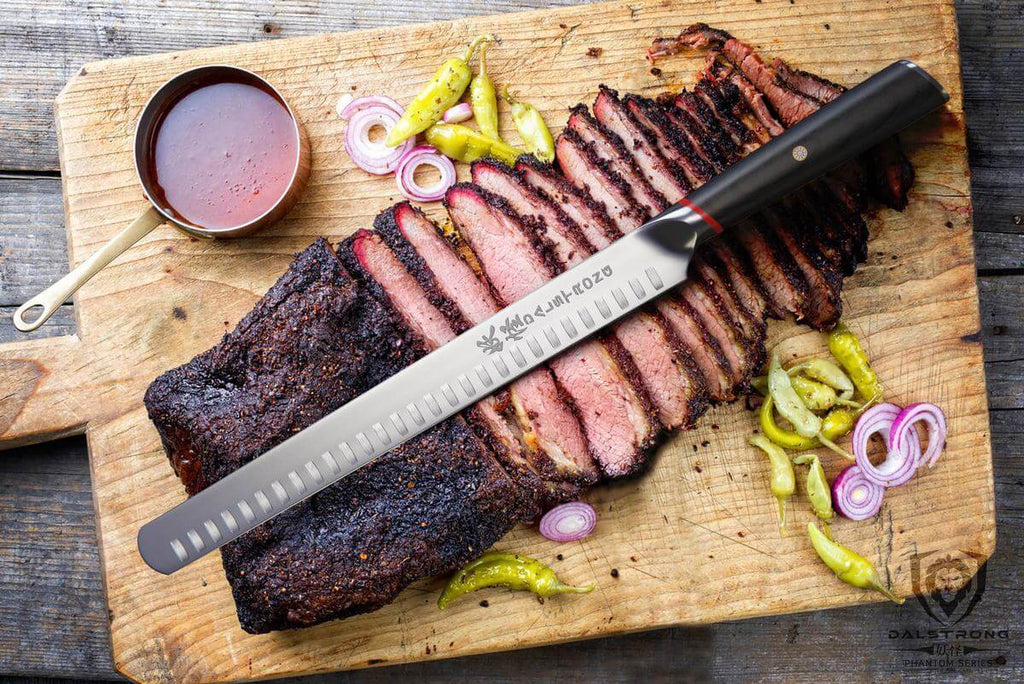
While I do admit that having an electric meat slicer around is great, especially if you are someone who deals with huge amounts of meat daily, it can be tricky to operate. Don’t worry as you can still get uniform, thin slices of meat at home if you invest in a proper meat slicing knife. Not only are they easier to handle, but will also be reliable additions to your kitchen arsenal.
Here are some of my top picks for meat slicing knives:
1. Butcher and Breaking Knife 8” - Shogun Series
This blade is a must, especially if you are a serious butcher or chef who prepares large quantities of beef, poultry, fish, and other meats. Not only does this blade work well to section and portion large cuts of meat with precision, but it also allows the user to expertly slice through flesh and breakthrough cartilage.
Pros:
- The blade offers superior control and maneuverability, which allows you to produce thin slices of meat.
- The rock-hollow divots also prevent food stuck-on and reduce friction, providing you with a more seamless slicing experience.
- The blade is built to handle extreme temperatures and is highly impervious to both heat and moisture, giving it lifelong durability.
Cons:
- The blade of this butcher knife might be too short if you are a seasoned chef. In that case, you can go for a blade that is 10” or longer.
- For a new chef, you might take some time to get used to handling such a nimble and sharp blade.
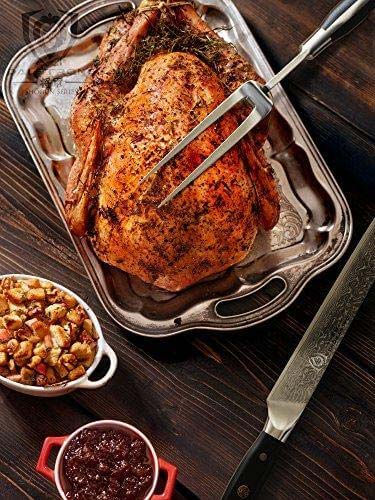
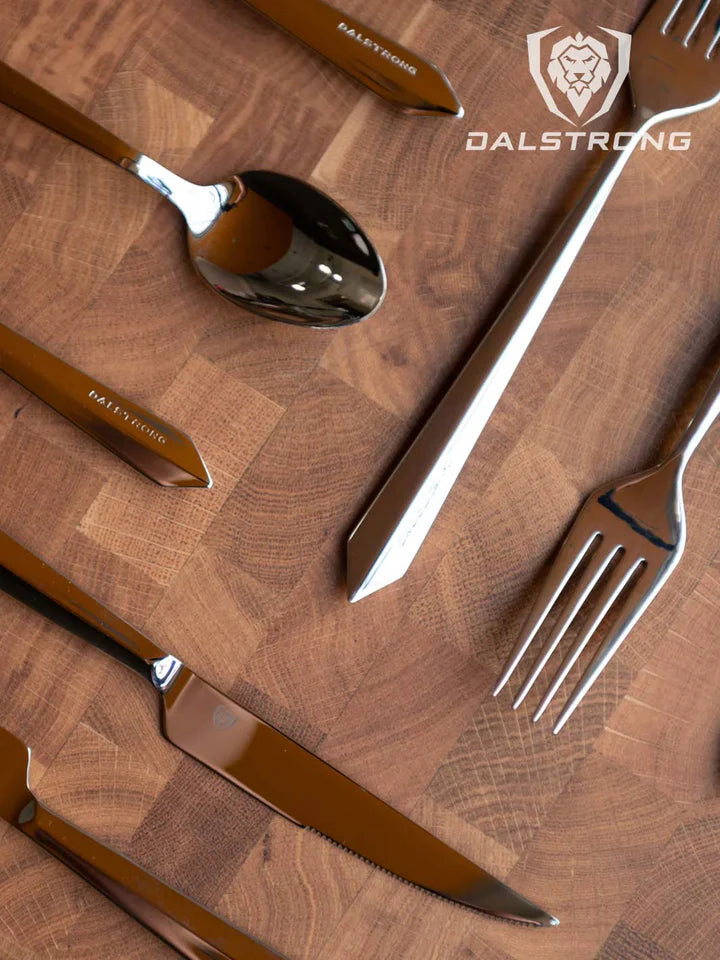
2. Carving Knife & Fork Set 9”- Crusader Series
This stunningly designed knife is built to slice and cut through anything put in front of it with ease and precision. This all-steel knife offers a minimalistic aesthetic with unobtrusive beauty.
Pros:
- This killer sharp knife’s blade is designed to help you achieve damage-free slices of meat, cut with maximum precision and minimum effort.
- The knife is accompanied by a fork that makes it easier for the user to not just slice up the meat but also transfer it from the cutting board to the plate.
- This very versatile and reliable set is priced nicely, making it an investment worth making.
Cons:
- The all-steel handle of this knife can get slippery, making it uncomfortable to hold for a long time.
- A 9” blade can get too short, especially if you are tackling large chunks of meat. In that case, you can pick a shorter blade.
3. Slicing & Carving Knife 10”- Gladiator Series
All your tough day-to-day kitchen demands will be met by this versatile knife. It works well for prepping large fruits and vegetables, carving roasts, or achieving thin, uniform slices of meat.
Pros:
- The blade of this knife is razor-sharp, maintaining the perfect balance between blade sharpness and resilience. This allows the user to control the blade and cut up thin slices of meat.
- The long length of the blade allows you to cut and slice meat and vegetables with a singles stroke.
- This blade cleans easily and is very simple to maintain.
Cons:
- A 10” blade can be slightly intimidating for an amateur chef. If that’s the case, you can opt for an 8” blade as well.
- The long blade can cause wrist fatigue if used for a long period.
4. Sujihiki Slicing Knife 10.5”- Shogun Series
This beauty is a multi-purpose slicer that translates to ‘muscle cutter’ or ‘flesh slicer’. This knife performs well when working on both, Asian-style preparations and more Western cuisines.
Pros:
- The razor-sharp blade edge sails through flesh without sawing, preserving the quality and freshness of the meat, which makes this a great tool for achieving paper-thin slices of meat.
- This blade can be used to slice through roast beef, turkey, raw meats, and even prepare sushi, making this blade highly versatile.
- The carefully designed handle of this knife also provides superior grip, hand control, and comfort, making it easier to use for long hours.
Cons:
- While super sharp, the blade is also very narrow. This might make it difficult for the user to scoop food and transfer it from the cutting board to the pot.
- If you are new to cooking you might not want to invest so much in a blade. In that case, you can check out the other slicing knife options available.
5. Slicing & Carving Knife 12”- Delta Wolf Series
Slicing thin, uniform cuts of meat requires finesse and flexibility, and this 12” elite slicer is built just for that. Not only will this blade be the showstopper in your kitchen, but can also be used for multiple purposes like prepping large fruits and veggies, slicing bread loaves and layer cakes, and dealing with meat.
Pros:
- The blade of this knife is hand-sharpened to a savage 8-12 degrees. This makes the knife perfect for slicing meat thinly, in one quick motion.
- The blade is ultra-thin, ensuring zero friction. This helps reduce food drag and minimize flesh damage.
- The added chromium provides stain resistance, making sure the knife lasts you a lifetime.
Cons:
- It can get slightly challenging to maneuver and control a knife with such a long blade. If you are not used to this blade size, you must practice a little before you start using it for your daily cooking tasks.
- The price of this blade can be a little steep for someone who does not cook often.
6. Frequently Asked Questions About Meat Slicers
What is a good quality meat slicer?
If you plan on buying a meat slicer, make sure that it comes with stainless steel blades as they do not rust and can cut through almost anything. You must also ensure that the slicer has a built-in sharpener to keep those stainless steel blades razor-sharp.
Is buying a meat slicer worth it?
If you find yourself slicing up lots of meat daily, you can invest about $200 on a mid-range electric meat slicer since it strikes a good balance between performance, power, and safety features. A large blade also allows you to slice more types of food including cheese.
What is a slicer used for?
A meat slicer is a tool used in butcher shops and delicatessens to slice meats, sausages, cheese, and other deli products quickly with less manual labor.
Can meat slicers cut raw meat?
While your meat slicer can be used to slice raw meat, you need to make sure that no cross-contamination occurs with cooked foods in the area.
What is the correct order to clean a meat slicer?
First, unplug the slicer and disassemble it, removing the blade, slicer guard, and slide rods.Wash each part with soapy water, using a cloth or sponge.Rinse all parts with clean water thoroughly.Sanitize by wiping with a cloth and bleach solution (1 tablespoon bleach per gallon of water).Let all parts air dry completely before reassembling and using it again.These cleaning steps ensure food safety and hygiene in your kitchen.
What must you do in order to safely use the slicer?
Read the manual: Understand the slicer's operation thoroughly. Wear protective gear: Use cut-resistant gloves to prevent accidents. Secure the slicer: Ensure it's on a stable surface and firmly locked. Keep hands clear: Never touch the blade while it's in motion. Slice in one direction: Move the meat only forward, not backward. Use the guard: Always use the slicer's safety guard. Unplug when not in use: Disconnect the slicer to prevent accidental starts.
What safety procedures should you follow when slicing rolled meat on a meat slicer?
Secure the meat: Ensure the rolled meat is firmly held with a meat holder or grip attachment to prevent slippage.Use the safety guard: Always utilize the slicer's safety guard to shield your hand from the blade.Slice slowly: Take your time and maintain a steady pace to avoid accidents.Wear cut-resistant gloves: Provide an extra layer of protection for your hands while handling the meat.Stay focused: Concentrate solely on the slicing task to avoid distractions and injuries.
When should a meat slicer be cleaned and sanitized?
After each use: Immediate cleaning after slicing prevents food residue from drying and becoming difficult to remove. When switching between different types of meat: To prevent cross-contamination, clean and sanitize before slicing a different type of meat. Throughout the day: For heavy usage, periodically clean and sanitize the slicer to maintain hygiene. Regular cleaning and sanitizing ensure food safety and maintain the slicer's performance.Shop Dalstrong Slicing & Carving Knives Today
Written by Himani VaidToronto-based food nerd turned food storyteller, Himani is a connoisseur of all things delish. Currently, busy thinking about what to eat next.


