How To Make Gravy From Scratch

Quick Overview: How to make gravy from scratch
- Place your saucepan over medium heat and melt 4 tablespoons of unsalted butter.
- Add 4 tablespoons of all-purpose flour. Whisk until smooth for 1-2 minutes.
- Slowly pour in 2 cups of broth or stock while constantly whisking to prevent lumps from forming.
- Add a bay leaf for extra flavor (optional), and bring the gravy to a boil.
- On low heat, simmer the gravy until it thickens to your desired consistency.
- Remove the bay leaf from the gravy and add salt and pepper to taste.
- Serve hot over mashed potatoes, baked chicken, roasted turkey, pork chops, or your favorite dish.
Let’s get real for a second – gravy is universally loved and is perfect for mashed potatoes, roasts, and, quite honestly, any other dish! And what’s better than a homemade version?
In this blog, I’ll be sharing an easy-to-follow 10-step recipe that uses ingredients like pan drippings, butter, flour, and vegetable broth to create a flavorful gluten-free gravy that can be enriched with your favorite ingredients like mushroom powder or Worcestershire sauce!
Whether you're a home chef, a professional chef, or a seasoned chef, this recipe is perfect for creating smooth and creamy gravies that are sure to impress your guests. So let's get right into it.
1. What You Need To Make Homemade Gravy

You need a couple of ingredients to nail this recipe. Let's learn how these ingredients add to the flavor and consistency of the gravy.
- Pan drippings or fat. These can be from roasted chicken, turkey, or any other meat you're cooking.
- Butter. Butter is used to create a roux, which helps thicken the gravy.
- All-purpose flour. All-purpose flour can be combined with butter to create the roux.
- Vegetable broth or stock. Vegetable broth or stock is used as the liquid base for gravy.
- Salt and pepper. Since there are many sauces and powders added to the pan, all you need is salt and pepper to bring out the flavors. The less complicated your recipe is, the better!
- Other optional ingredients. Other ingredients, like mushroom powder, Worcestershire sauce, and soy sauce, can be added to customize the flavor of the gravy for certain dishes or occasions.
Now, let’s get into some pro tips that can enhance the flavor of your homemade gravy.
2. Pro Tips For Making Gravy From Scratch

Making gravy from scratch can be intimidating, but it's a skill that any home cook can master with a few pro tips. Start by saving the pan drippings from your roast, chicken, or turkey and using a fat separator to remove excess fat. To thicken your gravy, whisk flour or cornstarch into the pan drippings and cook over medium heat until the mixture turns golden brown.
Add broth or stock slowly while whisking to prevent lumps, and bring the mixture to a simmer. You can also add optional ingredients like soy sauce, Worcestershire sauce, or mushroom powder for extra flavor. Remember to season your gravy with salt and pepper to taste and strain it for a smooth consistency. Hopefully, with the tips below and a little practice, you can make delicious homemade gravy every time from scratch!
Follow these pro tips and nail the recipe for your homemade gravy.
Pro Tips:
- Before making the gravy, drain extra fat from the pan drippings using a fat separator. This will result in a healthier, less greasy gravy.
- If you want a gluten-free gravy, use cornstarch instead of flour as a thickening agent. Make a slurry by combining cornstarch with cold water and add it to the pan drippings slowly while whisking constantly.
- For a richer flavor, add a splash of soy sauce or Worcestershire sauce to the gravy.
- To prevent lumps in your gravy, whisk the flour or cornstarch into the pan drippings slowly and constantly until fully incorporated.
- If your gravy is too thick, consider adding more stock or broth in small amounts until you reach your desired consistency.
- If your gravy is a little thinner than expected, thicken it by whisking in a mixture of equal parts flour and butter (also known as a roux).
- You can make an easy gravy by using chicken or beef stock, butter, and flour if you do not have enough time. Melt your butter in a saucepan, whisk in the flour, and pour in the stock slowly while whisking constantly. Simmer until the gravy has thickened.
- Remember to season your gravy with salt and black pepper to taste.
- If you're using fresh herbs (such as thyme or rosemary) in your gravy, be sure to remove the stems before serving.
- Finally, try to experiment with different flavorings and ingredients to customize your gravy to your liking. Some popular options include garlic, onion, mushrooms, and red wine.
3. Methods on How To Make Gravy From Scratch

There are three main methods to make gravy from scratch. Here’s how you would go about it.
Pan Drippings Method
After cooking meat, use the drippings left in the pan as a base for your gravy. Add some butter and flour, whisking constantly, then gradually pour in some broth or stock and stir until the gravy thickens.
Roux Method
Start by making a roux with equal parts flour and fat (butter or oil) in a separate pan. Whisk until the mixture turns golden brown, then slowly add in broth or stock, constantly whisking to prevent lumps. Cook until the gravy thickens.
Cornstarch Method
In a separate bowl, combine cornstarch with cold water and whisk until smooth. Add the mixture to hot broth or stock, stirring constantly, then cook until the gravy reaches the desired thickness.
Whatever method you choose to do, always make sure to season your gravy with salt, pepper, and other herbs or spices you prefer. Lastly, don't be afraid to take a little risk and get creative - try adding soy sauce, Worcestershire sauce, or even a splash of wine for extra flavor.
4. Easy Homemade Gravy Recipe

Here is an easy homemade gravy recipe that you can make from scratch in just a few simple steps.
Ingredients:
- 2 cups of vegetable or chicken broth
- 2 tablespoons of butter or oil
- 2 tablespoons of all-purpose flour
- Salt and pepper to taste
Steps:
- Begin by melting the butter or oil in a medium-sized saucepan over medium heat.
- Once melted, add the all-purpose flour to the saucepan and whisk the mixture until it becomes a smooth paste.
- Allow the mixture to cook for about 2-3 minutes, constantly stirring, until it turns a light golden brown.
- Slowly pour in the vegetable or chicken broth while whisking the mixture continuously to avoid any lumps from forming.
- When all the broth is been added, change the heat from medium to low. Simmer for about 5-10 minutes and stirr occassionally until you achieve your desired consistency.
- If the gravy is still too thin, make a slurry by mixing 1 tablespoon cornstarch with 2 tablespoons water and then pour it into the gravy while constantly whisking until it thickens to your liking.
- When you achieve your desired consistency, season your thickened gravy with salt and pepper.
- Turn the heat off and let the gravy cool for a few minutes before serving.
- When it cools, the gravy may become thicker. You just have to add some water or broth to thin it out.
- Serve your homemade gravy with mashed potatoes, roasted chicken, turkey, or any other dish of your choice.
This easy homemade gravy recipe is perfect for home cooks of all levels and can be customized to your liking with optional ingredients like mushrooms, onions, garlic, and herbs.
Experiment with different broths or stocks to add even more depth of flavor to your gravy, and enjoy the delicious taste of homemade goodness.
5. Dalstrong Tools You’ll Need
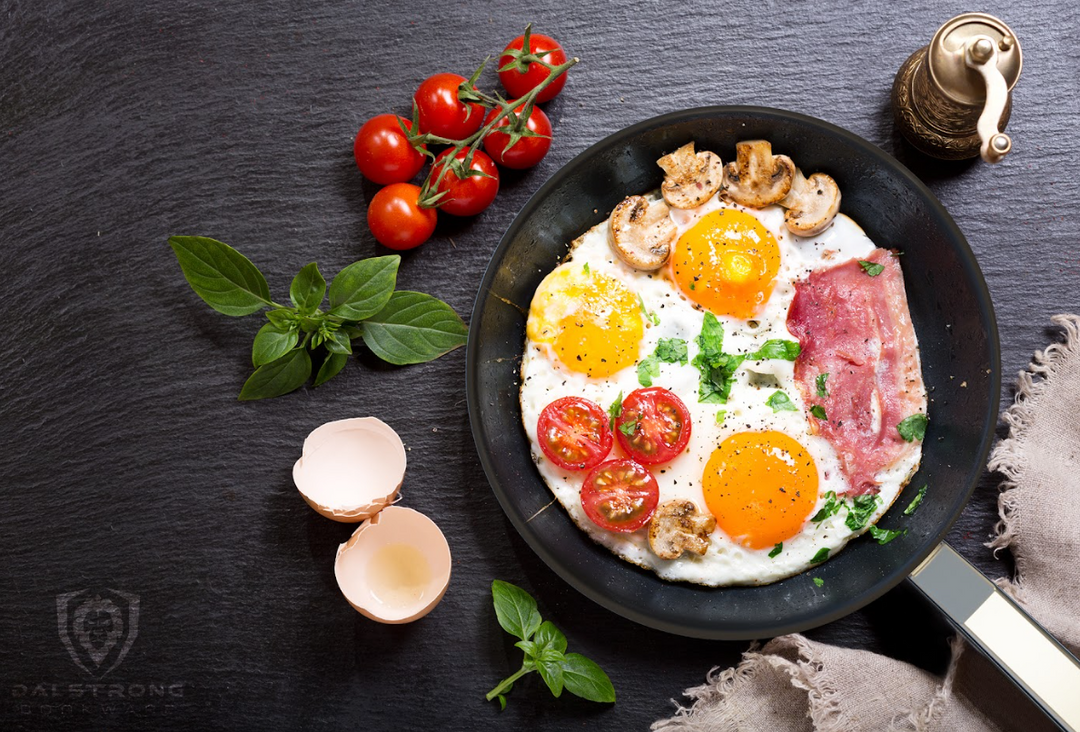
1. 12" Frying Pan & Skillet ETERNA Non-stick | Oberon Series | Dalstrong ©

Constructed with 3-ply aluminum-core and fused layers of non-reactive 18/10 stainless steel, this skillet is designed to withstand prolonged heat and provide even cooking results every time. It also features a brushed finish induction bottom, which provides an enhanced grip for smooth top electric ranges, induction cooktops, and gas stoves.
Pros:
- Excellent conductivity and responsiveness for even heating and precise temperature control during cooking.
- Durable 3-ply aluminum-core construction with thick layers of non-reactive 18/10 stainless steel prolongs the life of the skillet and ensures consistent cooking results every time.
- This frying pan has a long-lasting, PFOA & APEO-free non-stick coating that maintains its non-stick properties 26x longer than other skillets.
- Guaranteed to be oven and broiler safe up to 500 degrees F. It's also freezer, dishwasher, and refrigerator safe for added convenience.
Cons:
- This skillet is a premium product with a higher price tag to it, but the durability and long-lasting quality of the skillet make it a worthwhile investment for home cooks and chefs.
- The skillet may be heavier, so if you’re looking for something lighter, check out a smaller version of Dalstrong’s skillets and frying pans.
2. 9" Frying Pan & Skillet Silver | Oberon Series | Dalstrong ©

This 3-Ply aluminum-core material of this pot is designed with fused layers of non-reactive 18/10 stainless steel to increase its lifespan. The satin and nylon polished layers enhance smoothness and scratch resistance, while the brushed finish induction bottom ensures enhanced grip for smooth top electric ranges, induction cooktops, and gas stoves.
With a vented hole on the lid to prevent rattling and boiling over, this pot is oven, broiler, freezer, dishwasher, and refrigerator safe and designed to last a lifetime.
Pros:
- Made with 3-ply aluminum-core and additional layers of non-reactive stainless steel for exceptional durability and longevity
- Designed with a brushed finish induction bottom for enhanced grip, making it suitable for use on smooth top electric ranges, induction cooktops, and gas stoves
- Features a 4mm tempered glass lid that allows for easy monitoring of cooking progress and a vented hole to prevent rattling and food from boiling over
- Guaranteed oven and broiler safe up to 500 degrees F, as well as freezer, dishwasher, and refrigerator safe. It is also suitable on all types of stoves including induction, electric, and gas
Cons:
- Some users may find the size to be too small if they’re cooking for more than 3 people.
- The skillet may be on the heavier side, which could be difficult for some users who prefer lighter cookware.
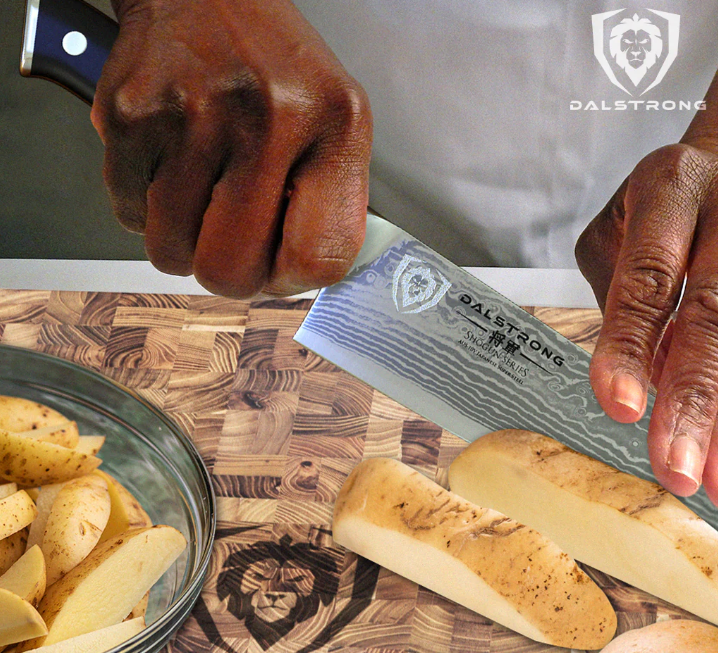
3. Lionswood Teak Cutting Board | Medium Size | Dalstrong ©

Looking for a reliable and stylish cutting board for your kitchen? The Dalstrong Teak Cutting Board is a versatile addition to your culinary arsenal. Made of sustainably sourced tropical teak wood and paired with satin-finished steel handles, this all-purpose board is perfect for chopping, slicing, and serving.
Pros:
- This board is made from sustainably sourced tropical Teak wood, a durable and long-lasting material that is water and bacteria resistant.
- End-grain design that allows the board to absorb juices but resist gouging.
- This board has a slip-resistant surface that keeps your favorite Dalstrong knives sharp for longer.
- Steel handles make it easy to carry and serve your favorite roasts, charcuterie, loaves of bread, cheeses, and other delicacies.
- The curved cut-out underneath the board is perfect for scraping and transferring ingredients or for waste. Surely very versatile and a practical addition to any kitchen.
- The lasered measurement lines on the board allow for precise cuts and sectioning, making it a useful tool for both professional and home chefs.
Cons:
- Teak cutting boards are often heavier than other cutting boards due to their thickness and durable construction.
- It may require more maintenance than other cutting boards, such as oiling regularly, to maintain its beauty and functionality.
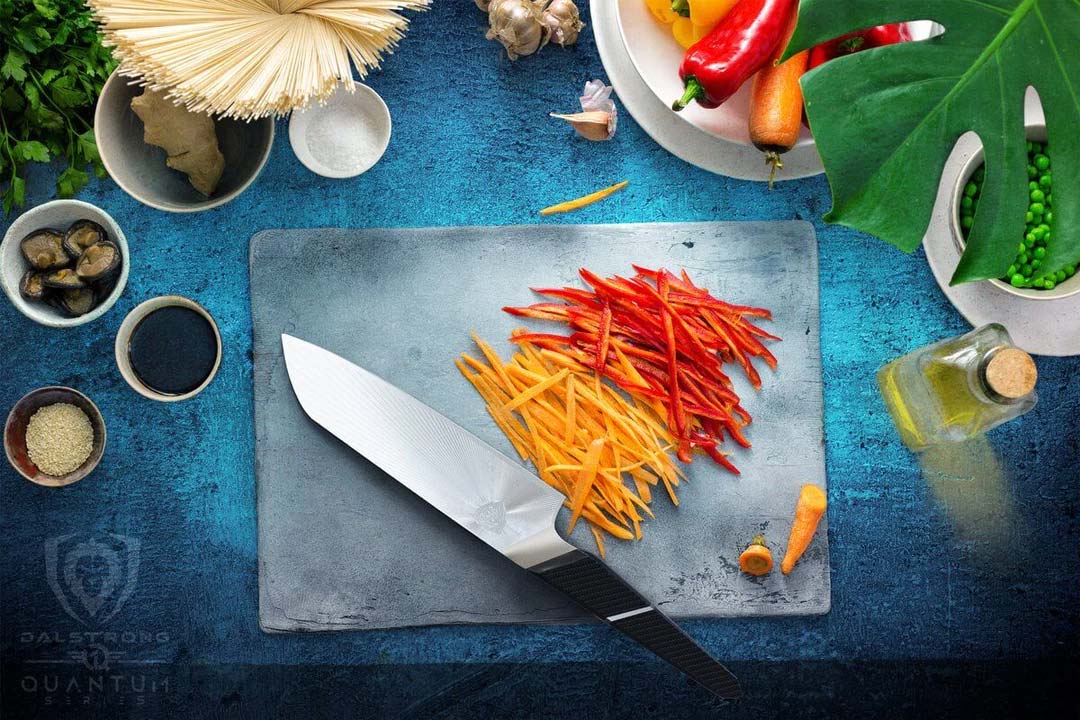
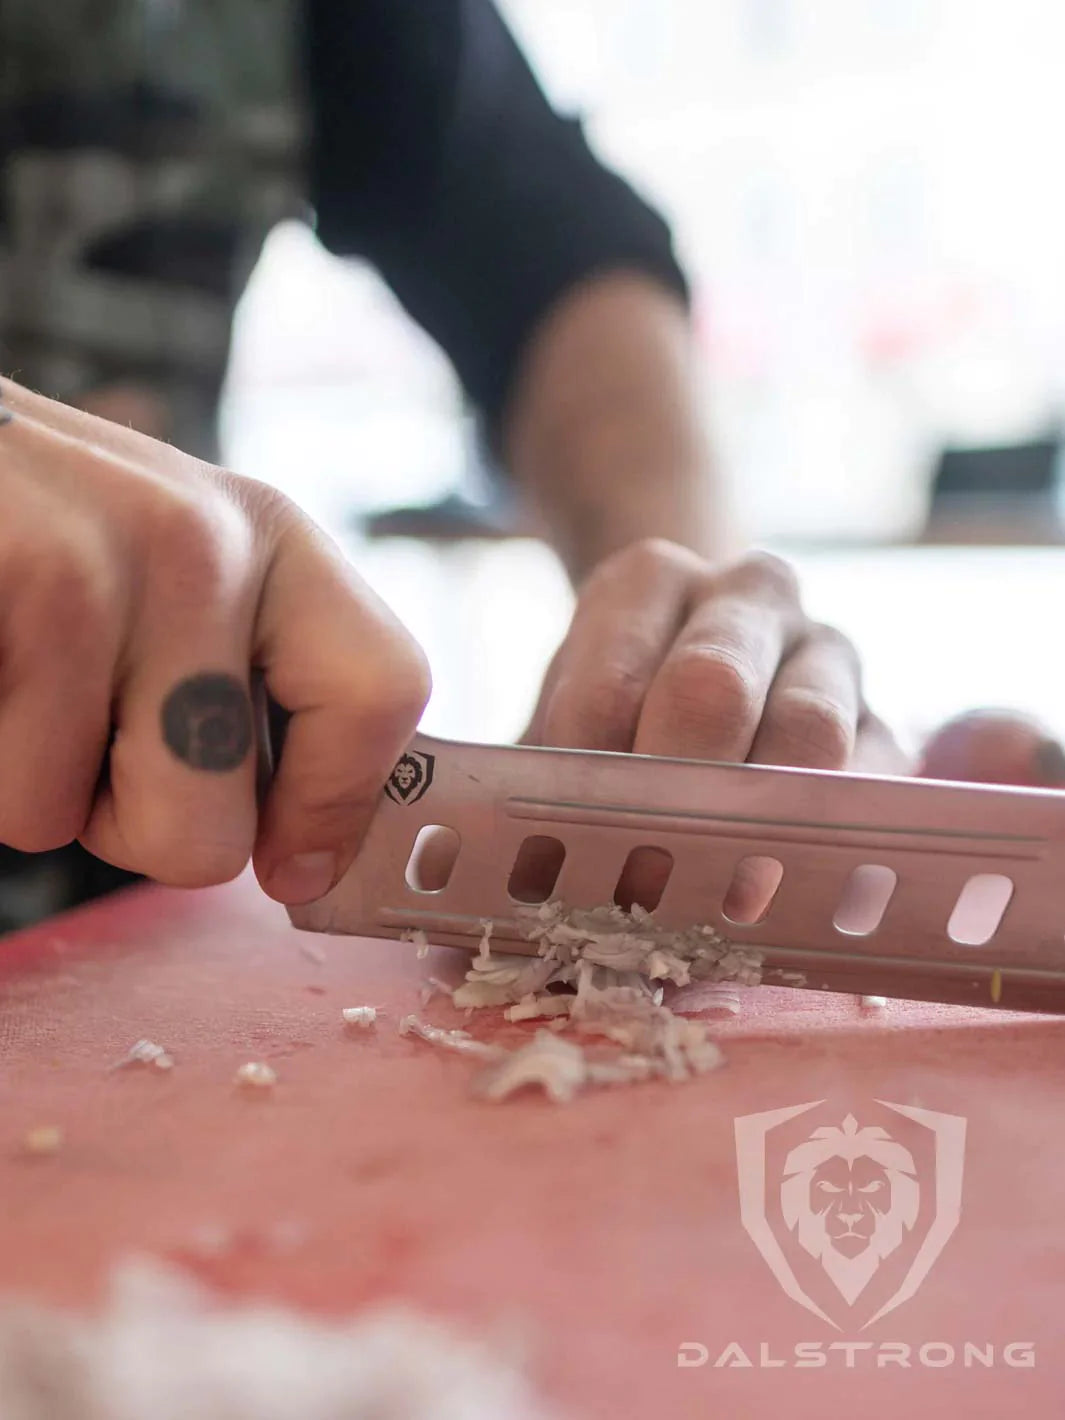
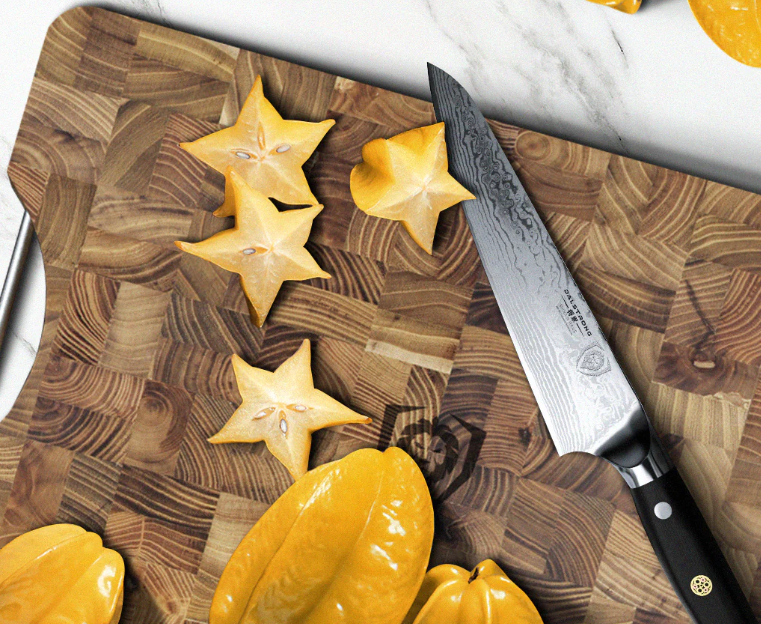
4. Chef's Knife 8" Shogun Series ELITE | Dalstrong ©

This is a personal favorite! The blade on this chef’s knife from the Shogun Series X features an 8-12° degree angle on each side and offers incredible edge retention at 62+ Rockwell. The AUS-10V Japanese super steel core is clad in 67-layer Damascus steel and sharpened under the ancient 3-step Honbazuke method for superior performance and durability.
The tapered bolster, hand-polished spine, and ergonomic G10 handle with a non-slip grip provide superior hand control, agility, and comfort.
Pros:
- Scalpel-like sharpness at a staggering 8-12° degree angle per side allows for effortless cutting and slicing.
- The incredible edge retention hardened at 62+ Rockwell allows the knife to stay sharp longer and cut longer without the need for frequent sharpening.
- AUS-10V Japanese super steel core provides ultimate performance and durability, making this knife an ideal choice for professional chefs and home cooks alike.
- The tapered bolster and hand-polished spine provide superior comfort and encourage a natural and comfortable pinch grip, reducing the risk of hand fatigue.
- The knife is beautifully designed, featuring the exquisite Shogun Series Tsunami Rose blade pattern and an ergonomic G10 handle with a non-slip grip, providing superior hand control and agility.
Cons:
- The blade may be too sharp for inexperienced cooks as the 8-12° degree angle on each side requires careful handling. So, this knife may be better suited for seasoned or professional chefs.
- The price of this chef’s knife may be higher than some other chef knives on the market, but the perks that come with it make it worth the investment!
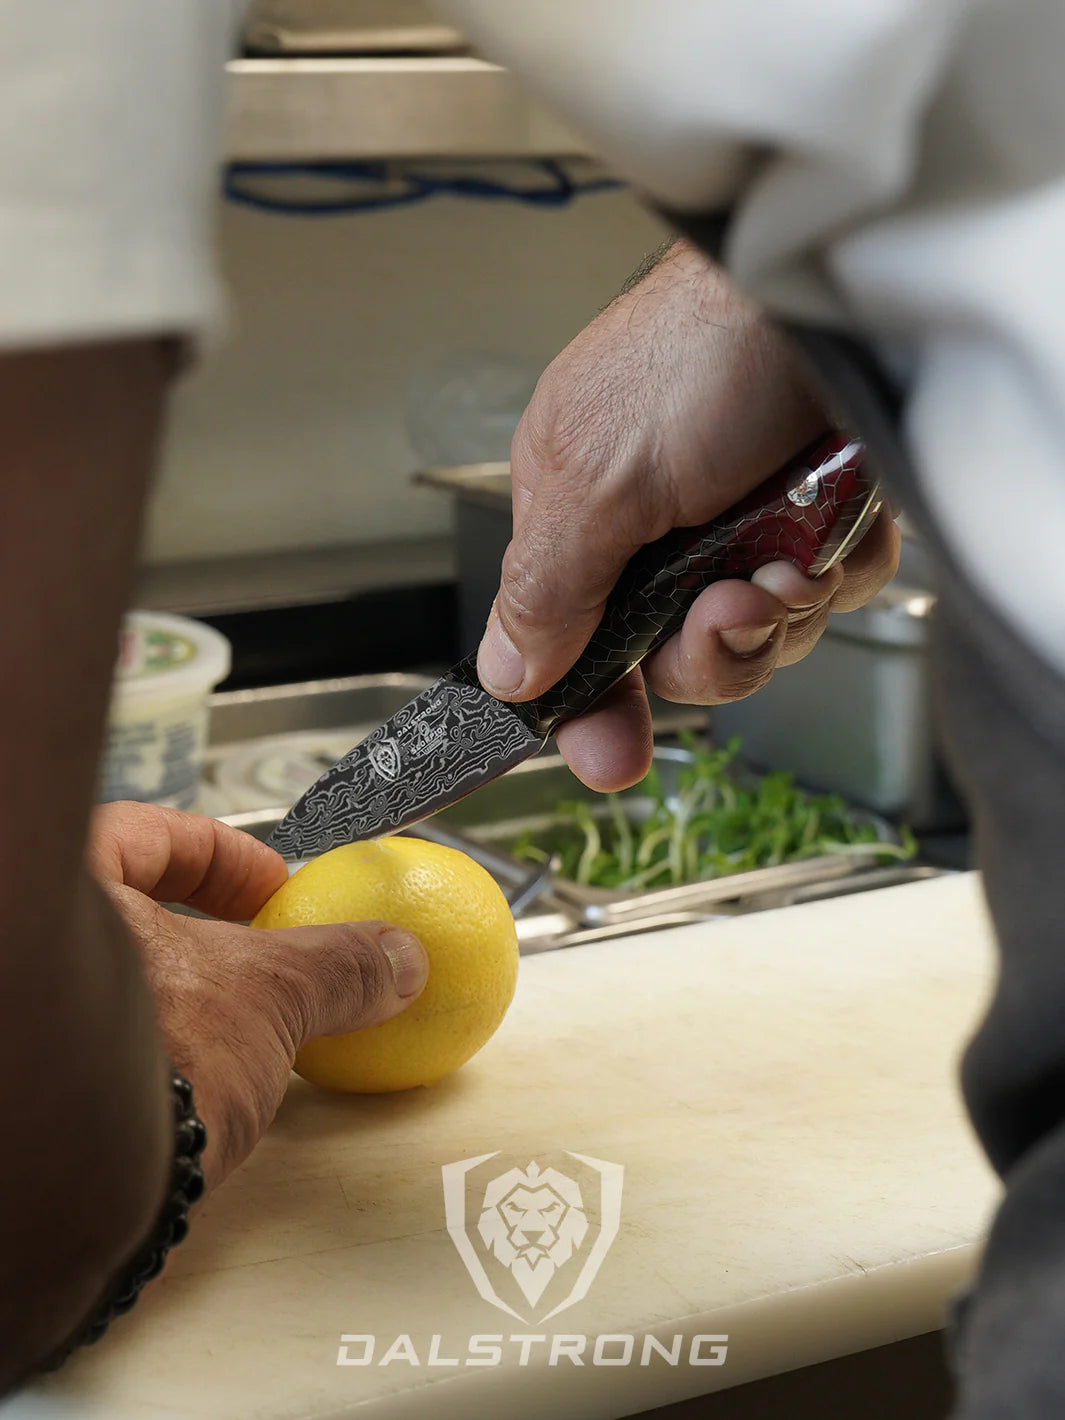
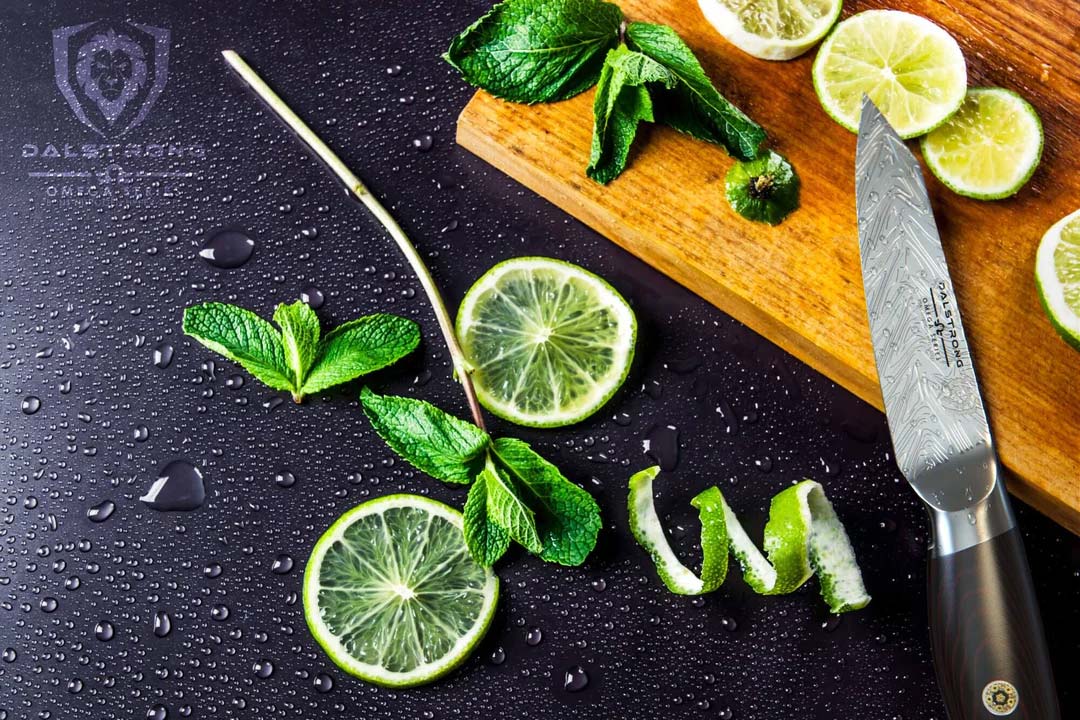
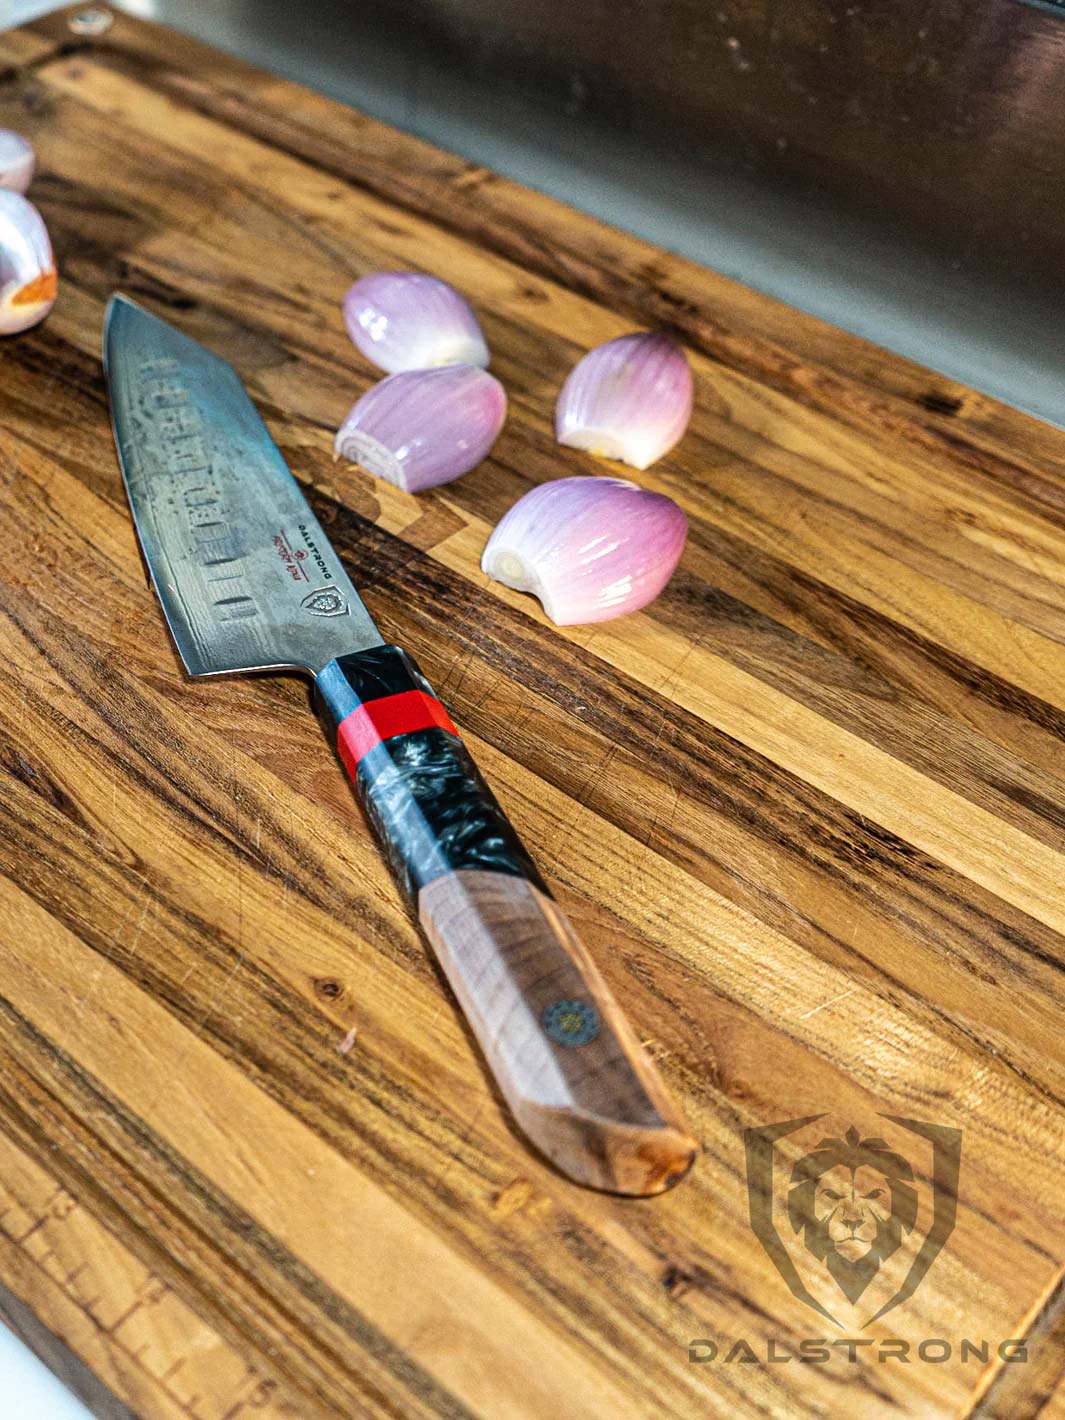
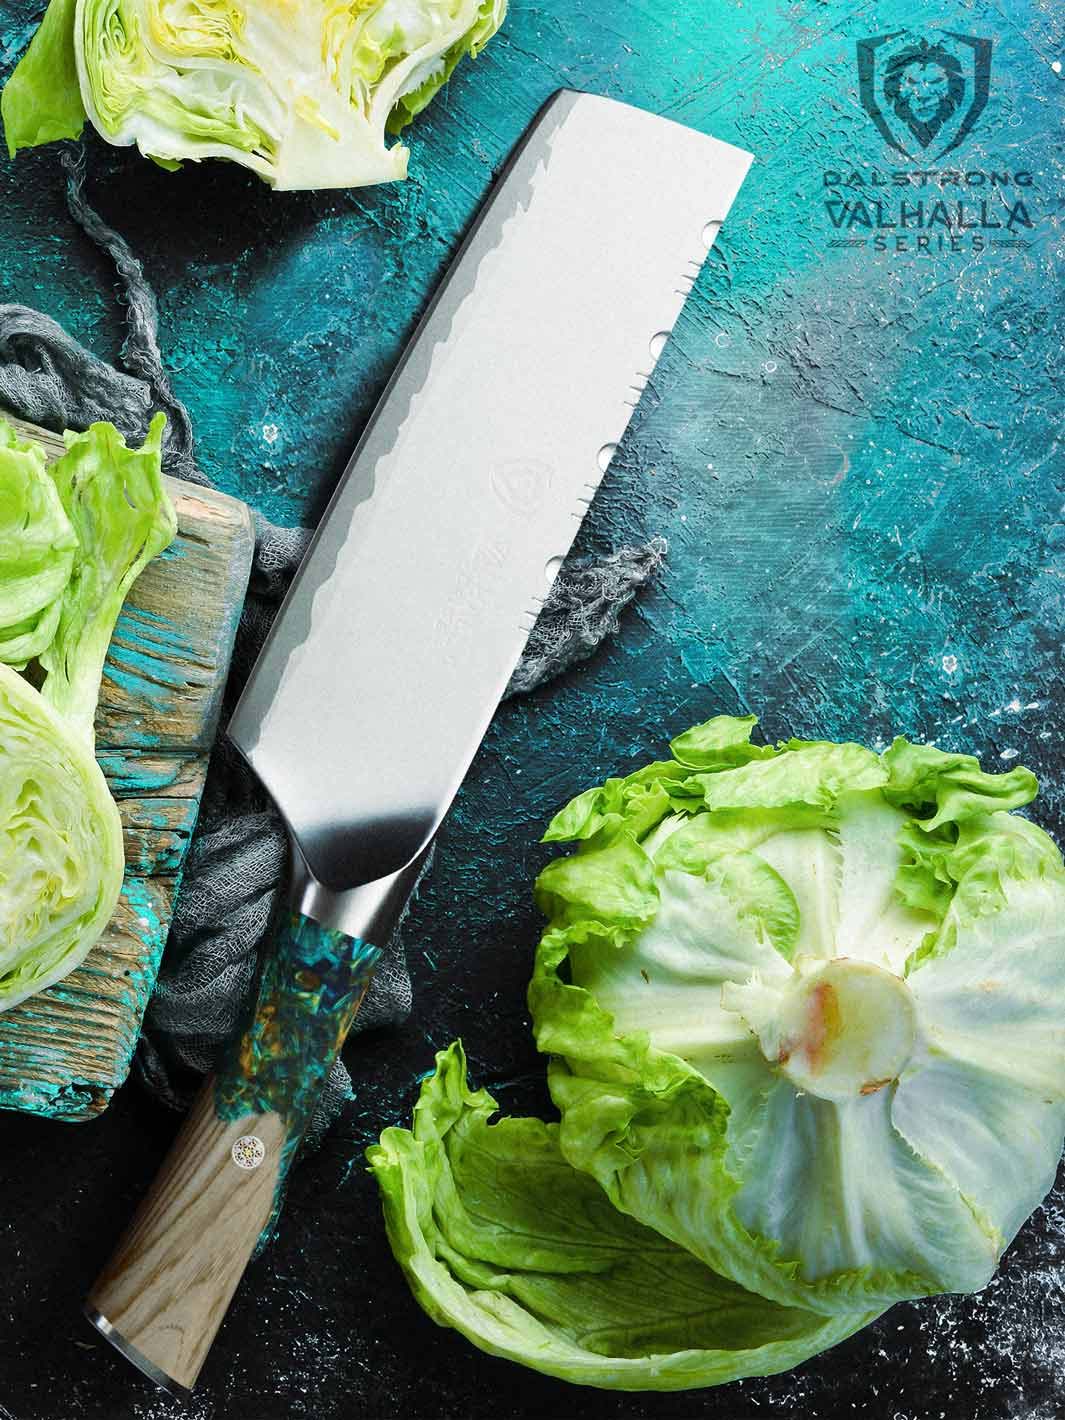
5. Paring Knife 4" Valhalla Series | Dalstrong ©

This Valhalla Series 4" paring knife is a precision forged, ultra-sharp, and wear-resistant knife made with five layers of stainless steel that is hardened at 60+ Rockwell. The blade is hand-sharpened to a precise 8-12º on each side and has a beautiful sandblasted finish.
The handle is made of premium quality blue resin and stabilized wood, which is both shock-absorbent and scratch-resistant.
Pros:
- Ultra-sharp and wear-resistant blade for precision cutting.
- Sturdy and durable handle that can withstand rigorous action.
- Resistant to extreme hot and cold temperatures.
- Scratch-resistant material maintains a polished, glossy finish.
- Sanitary build and dishwasher safe for easy cleaning.
Cons:
- Some users may find the 4" blade length too small for their needs.
- The blade may require more frequent sharpening to maintain its edge.
6. Frequently Added Questions
What is the trick to making gravy?
The trick to making gravy is to start with a flavorful base, such as meat drippings or broth, and gradually add a mixture of flour and liquid to create a smooth, thick consistency while constantly whisking to avoid lumps.
How do you turn a sauce into gravy?
To turn a sauce into gravy, you can add a thickening agent to the sauce like flour or cornstarch. Stir until it reaches the desired consistency. If using cornstarch, it's important to create a slurry by mixing it with water first to prevent clumping.
How do you make gravy with cornstarch and water?
To make gravy with cornstarch and water, create a slurry by mixing equal parts of cornstarch and cold water. Gradually add the slurry to hot meat drippings or broth while stirring constantly. Continue to stir until the gravy thickens to your desired consistency.