The Best Cinnamon Roll Recipe You Can Find Online
 Teak Cutting Board Large Size | Horizontal Grain | Dalstrong
Quick Overview: The Best Cinnamon Roll Recipe
- Mix warm milk and yeast until bubbly. Add flour, sugar, butter, eggs, and salt.
- Knead with a stand mixer for 15 minutes. Rest in a bowl, covered, for 1 hour approx.
- In a separate bowl, mix brown sugar and cinnamon.
- Cut the dough into two halves. Roll out one of the dough halves and coat it with melted butter and a cinnamon sugar filling.
- Roll the dough sheet inward and then cut it into 6 parts. Repeat with the other half.
- Cover the roll pieces and set aside for another hour. Bake the rolls for 30 minutes.
- Mix cream cheese, butter, vanilla extract, salt and powdered sugar to make the frosting.
- Glaze the warm rolls with the frosting and enjoy!
Roll, bun, swirl, snail, Danish roll… the peculiar shape and flavor of the world-famous cinnamon Roll have earned it several names in different regions. Call it what you want, the fact is we can’t deny how tempting this classic, extremely delicious pastry is.
Cinnamon rolls require long cooking times and some patience, but you don’t even need a mixer or a rolling pin (although they’ll certainly make the job easier). Don’t think twice and let us discover the depths of this delicious recipe for perfect cinnamon rolls!
1. What Is A Cinnamon Roll?

A cinnamon roll is a baked pastry consisting of a sheet of dough filled with sweetened cinnamon and rolled into a spiral shape (hence the name). Cinnamon rolls are worldwide famous for being sweet and delicious. Both the dough and the filling are incredible.
In Europe, these rolls are sprinkled with sugar; in North America, they are covered with cream cheese frosting. There can actually be many versions of toppings with nuts, peanuts, chocolate chips, caramel or chocolate syrup, among others.
A very brief history of the cinnamon roll…
The cinnamon roll recipe is said to have its origins in Scandinavia, with the arrival of cinnamon in Northern Europe during the 17th century (although only the wealthiest households could afford the -back then- very expensive Asian spice).
It is believed that it was in Sweden, around 1920, where kanelbulle ("cinnamon bun") became a thing. Not surprisingly, other Scandinavian countries also claim its origin. Later, German and Swedish immigrants brought this cinnamon bun to America.
Frosting or no frosting, the base recipe has remained basically unchanged, except for those slightly healthier or “gourmet” versions that have emerged to satisfy more contemporary palates.
2. The Best Cinnamon Roll Recipe
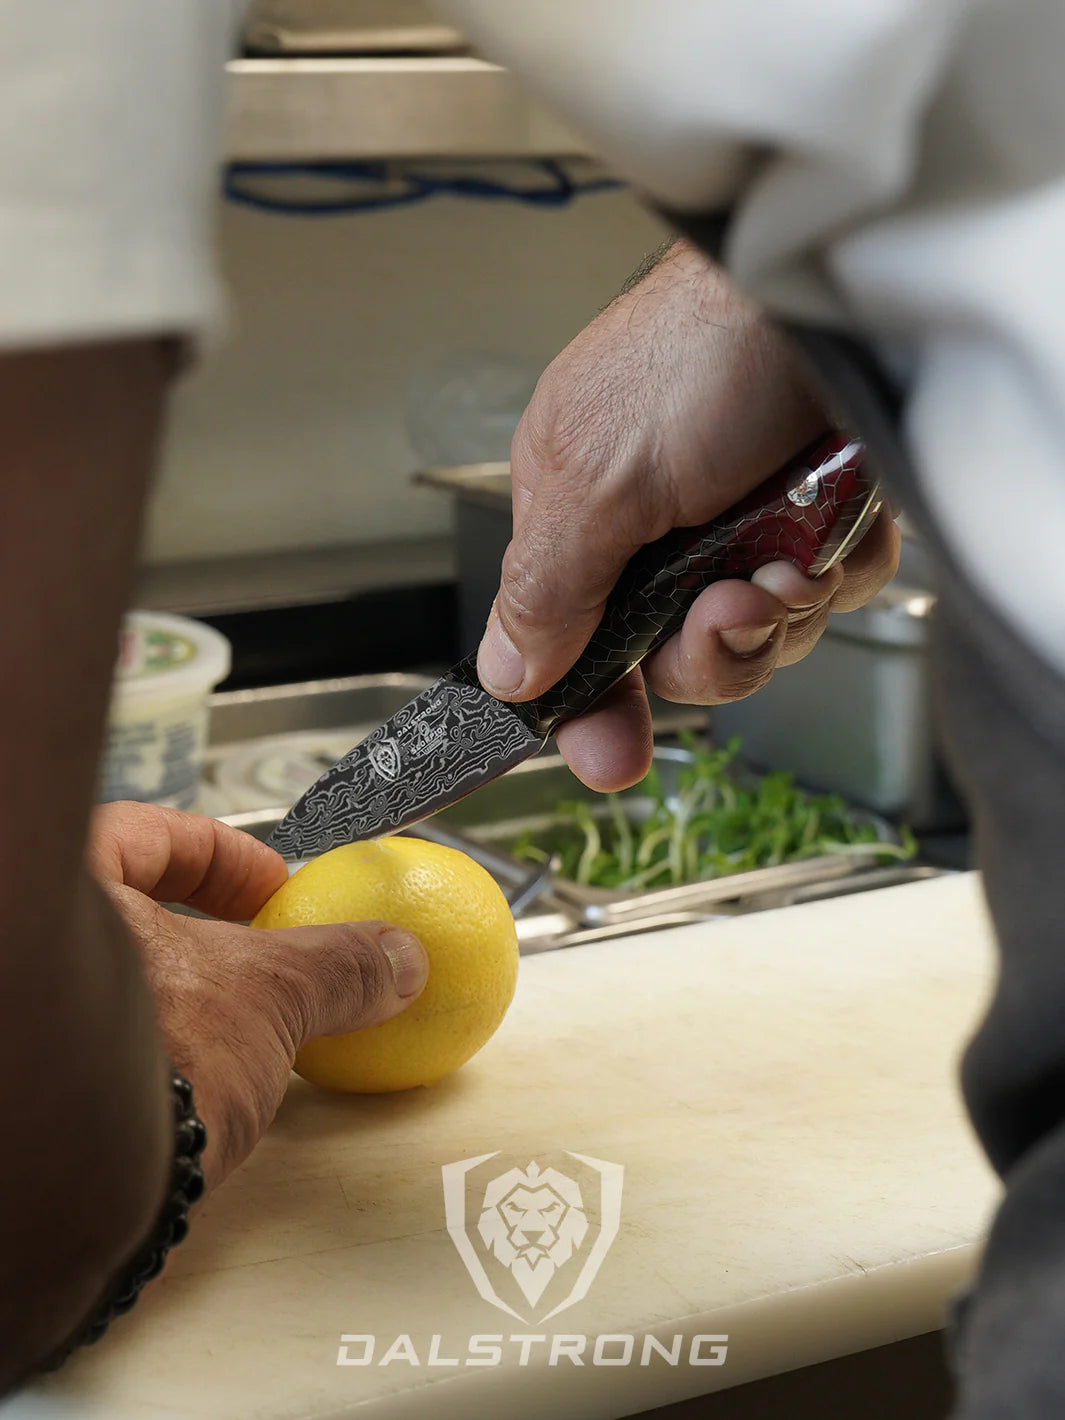
 Paring Knife 4" Omega Series | Dalstrong
Although those Scandinavian cinnamon rolls didn’t come with the cream cheese frosting, I have decided to include it here and I will dare call it “the classic recipe”, because for me it is.
NOTE: This recipe requires the use of a stand mixer which makes the process almost effortless, but later on in the article I offer an alternative recipe without a mixer.
- Servings: This recipe yields 12 cinnamon rolls.
- Prep time: 2 hr 30 min
- Baking time: 25 min
- Total cooking time: 2 hr 55 min
Ingredients
For the dough:
- ¼ ounce active dry yeast
- 1 cup whole milk, warm
- ½ cup granulated white sugar
- 6 tablespoons unsalted butter, melted
- 2 large eggs
- 1 teaspoon salt
- 4 cups all-purpose flour
For the filling:
- ¾ cup brown sugar
- 2 tablespoons ground cinnamon
- ¼ cup unsalted butter, melted
For the cream cheese icing or frosting:
- ½ cup unsalted butter, softened
- ¼ cup cream cheese
- 1 teaspoon vanilla extract
- Pinch of salt
- 1 ½ cups powdered sugar
Step by step:
- Pour the warm milk into a small bowl and dissolve the yeast. Set aside for 10 minutes until bubbles appear on the surface.
- Take this milk and yeast mixture and add it to the mixer bowl along with the flour, sugar, butter, eggs and salt. Use the dough hook to knead, first on low speed, then increase to medium speed and knead for 15 minutes until the dough is smooth.
- Move to a large bowl and cover with a damp cloth or plastic wrap, and set aside in a warm place for 1 hour until the cinnamon roll dough doubles in size.
- Meanwhile, in a separate bowl, mix the brown sugar and cinnamon.
- Bring the dough again and cut it into two halves. If necessary, punch the dough down a little to deflate it.
- Now it’s time to roll out. First, get your work surface ready by pouring some flour, and then roll out one of the dough halves, trying to create a rectangle of approximately 11" x 8". You can roll out the dough either with your bare hands or with a rolling pin. Take your time here, aiming for an even sheet of dough.
- Brush this sheet with melted butter and then coat it with the cinnamon sugar filling.
- Rolling time! Rolling the dough is definitely my favorite part of the recipe. Roll the longer side of the dough inward, pressing firmly as you go. You can moisten the final edge of the dough so that it sticks and secures.
- Cut the roll into 6 equal parts: these will be your rolls. Place them in a baking dish or a large oven safe pan (ideally with parchment paper or previously greased). Cover with a damp kitchen towel or plastic wrap and set aside once again for about an hour, allowing it to rise a bit more.
- Preheat the oven to 350ºF.
- Repeat steps 6, 7 and 8 with the other half.
- Bake the rolls for 30 minutes until golden brown.
- You can prepare the frosting while the buns are in the oven: mix the cream cheese with the butter, vanilla extract and salt until the mixture is homogeneous, and then add the powdered sugar little by little.
- Drizzle the glaze on top of the rolls while they are still warm and let it soak in.
- Prepare mentally to indulge in this absolutely delicious treat. Really. Ready? Now serve and enjoy!
3. Dalstrong Tools You’ll Need To Make Cinnamon Rolls
To warm the milk: 3 Quart Stock Pot | Avalon Series
A medium-sized pot is always useful in the kitchen of any professional or amateur chef, especially for those simple tasks like warming milk. This beautifully hammered 3-quart stock pot in sleek black inspires luxury and refinement while offering high performance and durability.
PROS:
- 5-layer base with copper core for maximum heat conductivity, control and responsiveness.
- Non-reactive stainless steel layers keep food aromas, flavors and colors intact.
- Perfect-fitting lid with a venting hole.
- Flared rim to prevent drips while pouring.
- The angled handle allows for a comfortable and secure grip.
- Measuring lines on the inside of the pot are certainly a nice extra.
CONS:
- This is NOT a non-stick pot so make sure to take precautions.
- The lid is made of stainless steel, it is not see-through, as some people like for difficult recipes.
To cut the dough: Orbit Razor Pizza Wheel & Cutter
My favorite way of cutting cinnamon rolls is with a pizza cutter, even though you’ll see many hacks on TikTok like dental floss. This powerful three-spoke rotating wheel by Dalstrong wheel will help you outline the dough easily and safely, as well as cut the individual pieces. The design is pretty unique.
PROS:
- Versatility: use it for dough, pizza, pies, pasta, focaccia, pastries, crepes…
- Made of premium extra thick stainless steel.
- Easy-grip, waterproof handle.
- A finger guard is included for finger protection.
- Quick-drying sheath to protect the pizza wheel.
- Practical loop at the end of the handle for easy hanging.
CONS:
- There are lower prices on the market for pizza cutters (although I doubt they have the same versatility and quality).
- If you don’t have a pizza cutter at home, you don’t have to run and order one for making this cinnamon roll recipe. Just jump to our next, more traditional option:
Also to cut the dough: Serrated Chef Knife 7.5" | Gladiator Series
A serrated knife is probably the more available, practical choice for cutting your cinnamon rolls. And especially this model from the Gladiator series brings together the versatility of a chef's knife with the special blade of a serrated knife. Use a single stroke to cut the buns, maintaining their integrity and shape.
PROS:
- Forged from German high-carbon steel at 56+ Rockwell.
- The edge features an exclusive hybrid-serrations design for more cutting efficiency.
- It is a sturdy, solid, full tang knife.
- Ambidextrous and ergonomic handle for a perfect grip.
- Balanced weight for maximum maneuverability.
- Good value for money.
CONS :
- The serrated blade is only suitable for certain types of foods, so you may consider a more traditional chef's knife if what you’re looking for is something “universal”. For this recipe, though, you’ll need a serrated knife.
- The size is slightly smaller than the average 8” chef’s knife.
To bake the buns: 12" Sauté Frying Pan (Oven-Safe) | Oberon Series
If you don’t have a baking sheet, it is perfectly possible to get golden brown cinnamon rolls in an oven-safe pan. This one from the Oberon series is large enough to accommodate a medium batch. On the wide, flat, non-stick surface everything will cook evenly, from thick proteins to delicate omelets.
PROS:
- Oven-safe for baking your favorite cinnamon roll recipe. Also grill safe.
- Freezer and refrigerator safe. You could even freeze cinnamon rolls overnight in this pan and bake them the next morning without having to move them.
- Premium non-stick coating. No need to grease or use parchment paper to bake your cinnamon rolls (but recommended).
- The 3-ply aluminum core ensures impeccable conductivity.
- 18/10 stainless steel makes it highly resistant to corrosion.
- Complementary side handle to hold and move the pan with ease and confidence.
- Extra strong tempered glass lid that allows you to watch your food as it cooks.
CONS:
- Some may prefer the eye-catching design and the hammered finish offered by the 12" Sauté Frying Pan from the Avalon Series.
- Even if I find it affordable for what it is, maybe your budget for a frying pan is not very flexible.
Also to bake the buns: 12" Frying Pan & Skillet | Oberon Series
This 3-layer aluminum skillet is also oven safe and has a good size, so it can be useful for baking cinnamon rolls. The conductivity is excellent: it heats quickly in all types of preparations and results are consistent each time.
PROS:
- 2.5 mm thickness prevents denting and warping when exposed to prolonged heat.
- Premium quality stainless steel makes it an extremely durable pan.
- Manufactured with non-toxic and non-hypoallergenic materials.
- Brushed finish bottom for efficient grip on all types of cooktops.
- The handle is longer and ergonomic for more control.
CONS:
- This is not a non-stick pan, which some people may be looking for depending on what they cook and how.
- The size is adequate for laying out buns and rolls in the oven. But if your kitchen is too small, then you may want to check out the 10" Frying Pan & Skillet from the Avalon Series.
4. Can You Make Cinnamon Rolls Without A Mixer?
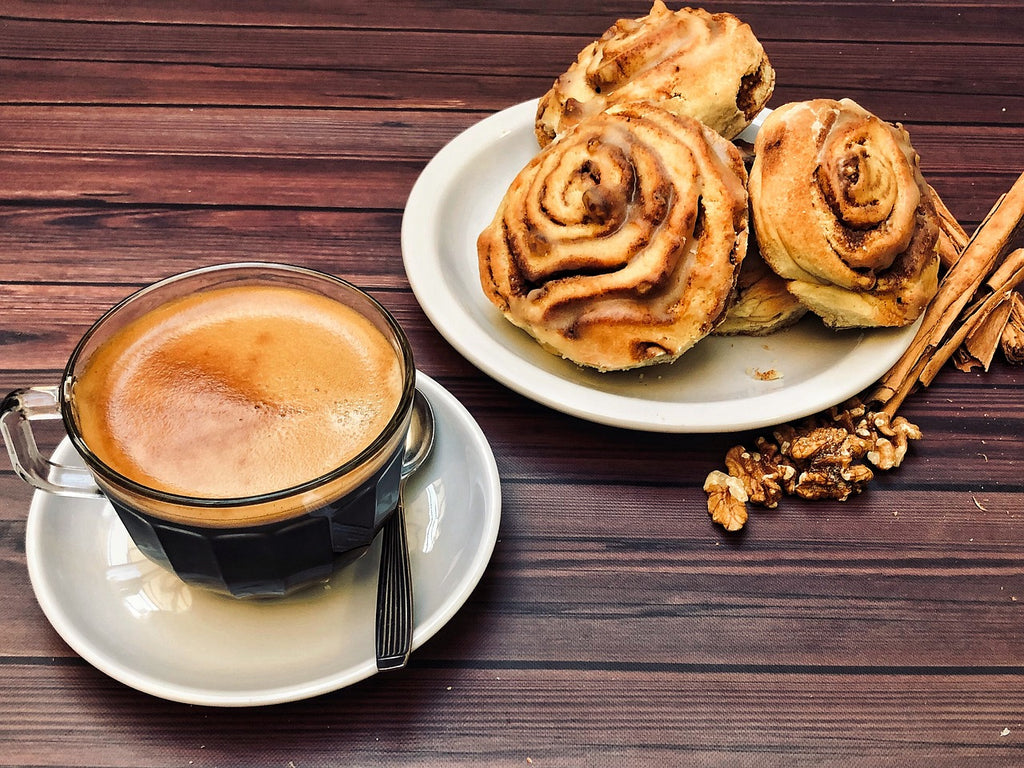
A stand mixer is a standard tool for making cinnamon rolls because it simplifies the process by a thousand. You only knead the cinnamon roll dough for 10 minutes and virtually no more effort is required except pressing the buttons.
But you can also prepare cinnamon rolls without a mixer. The process and steps are almost the same, except the dough is worked manually. The cream cheese frosting can also be made without a mixer, simply by using softened cream cheese and butter.
Step by step:
- In a large bowl, combine the milk and yeast mixture with the sugar, melted butter (not too hot), eggs and salt.
- Once combined, add the flour little by little, stirring with a wooden spoon until you get a sticky dough.
- Knead the dough a little with some more flour until it comes off cleanly from the walls.
- Transfer the dough to the counter or a lightly floured surface like a cutting board, and knead by hand for another 8 to 10 minutes, adding a little more flour if necessary (a tablespoon at a time) until it firms up.
- Transfer the dough to a large bowl covered with a damp cloth or plastic wrap, and set aside in a warm place for an hour until it doubles in size.
- The next steps are the same as in the main recipe!
5. Tips To Make The Best Cinnamon Roll

Here are some tips and tricks to get the most out of your cinnamon roll recipe:
TEMPERATURE IS VERY IMPORTANT
To activate the yeast and help the cinnamon roll dough to rise, take temperatures very seriously. Remember to warm the milk, preferably to 110°F. It is best heated on the stove, but it can also be heated in the microwave in 15-20 second rounds.
You can use a thermometer to ensure that the milk is at the right temperature.
The dough also needs to rest in a warm environment so it can rise. Some people put the bowl with the dough inside the oven and turn it on for just one minute at 400°F, every 45 minutes or until the dough rises. This process can take about two hours. Don't forget to turn off the oven after one minute!
The butter should also be softened to no more than 100°F and the eggs should be at room temperature at the time of cooking.
WATCH THE AMOUNTS
Use the amounts indicated in the recipe, especially the flour and especially if you knead by hand. Don’t be tempted to add more flour to speed up the process. Cinnamon roll dough should be a bit sticky to ensure soft rolls.
CONSIDER INSTANT YEAST
Instant yeast can simplify the recipe (just a bit). You don't have to mix it first with water and wait for it to bubble. Just sprinkle it directly into the bowl with all the dry ingredients and then pour the liquids over it. If the yeast is good quality, the dough will rise to a good size and bake light and fluffy.
OVERNIGHT CINNAMON ROLL MIX
Cinnamon rolls are best enjoyed warm and freshly made. But, while they make a delicious breakfast, let’s face it: it’s unlikely that you’ll wake up 2 hours early on a weekday just to have a bun before work.
Consider the old “fridge overnight” trick. You can save yourself a lot of time by leaving the dough in the fridge overnight and then baking the rolls in the morning (if you can resist the temptation of having some dinner rolls).
All you have to do is to assemble the rolls the night before and place them on a baking sheet or baking pan, cover them and refrigerate. Before baking, leave the tray with the rolls on the counter for at least half an hour for them to come to room temperature and rise.
You can also prepare the cream cheese icing in advance and store it in an airtight container for the next day, just saying…
CINNABON STYLE
Everybody loves Cinnabon cinnamon rolls. What is Cinnabon’s secret ingredient?. While we don’t have the answer to the question, we can give you hints. Cinnabon rolls are stickier. You can pour warm heavy cream over the roll dough before baking, after they have risen in size. It also works to use a bit of coffee cream or coconut cream. The cinnamon rolls will be softer and the filling will not be as grainy.
THICKNESS
If your rolls will have plenty of filling, then roll out the dough to 1/4 inch thickness and squeeze the dough sheet as you roll it. If you prefer a more doughy texture, then roll out the dough to 1/2-inch thickness and roll more loosely with a little less pressure.
CUTTING TOOL
For clean and precise cuts, it's best to use a good serrated knife or a sharp kitchen tool. Some people swear by unflavored dental floss or thin strings, but we’d rather stick to things that have been designed for cooking.
GIVE THEM SPACE
Avoid placing the rolls too close to each other on the baking surface. Use two pans if you have to. Space will allow them to cook more evenly.
THE TOPPING GAME
The classic choices are cream cheese and powdered sugar. But you can up your game by playing with citrus zest, maple, toasted nuts, seeds, jam, fruits, whipped cream, chocolate chips and even ice cream…
6. Cinnamon Roll Nutritional Facts

Cinnamon rolls have a reputation for being a calorie bomb, and I don’t intend to deny it. A commercial cinnamon roll could provide around 900 calories and more than 100g carbs per serving. However, homemade cinnamon rolls can be healthier and (just a bit) lighter.
And let us not forget about how wonderful Cinnamon is as a spice. Even in small quantities, it has antiviral, antibacterial and antifungal properties and is loaded with antioxidants.
Finally, I would like to remind you that if you follow a healthy lifestyle, then indulging in the occasional treat is only natural and necessary. And what makes a better “occasional treat” than a fluffy, soft, warm, out-of-the-oven cinnamon roll?
This is the nutritional information of one (1) homemade cinnamon roll of approximately 120g, served with frosting (of course, there will be fewer calories if you skip the frosting):
- Calories: 618 kcal
- Carbohydrate: 85 g
- Protein: 7 g
- Fat: 28 g
- Saturated fat: 17 g
- Cholesterol: 109 mg
- Sodium: 427 mg
- Potassium: 145 mg
- Fiber: 1 g
- Sugar: 47 g
- Calcium: 89 mg
- Iron: 2.6mg
7. Frequently Asked Questions about Cinnamon Rolls (FAQ)
Can you make cinnamon rolls in the air fryer?
Yes. You can cook in an air fryer anything you would cook in the oven. Just spray the air fryer basket with a little oil spray, place the cinnamon rolls directly in and fry for 8 minutes at 360 degrees.
Can there be other variations of the traditional cinnamon roll recipe?
Of course! You can customize the dough, the filling or the toppings. Imagine a “banana bread cinnamon roll”, or “pumpkin spice cinnamon rolls” for Thanksgiving. Some people use the dough to make a cinnamon roll bread recipe (yes that’s a thing).
What is the best flour for making cinnamon rolls?
All-purpose wheat flour is ideal for that soft, light and fluffy texture you would expect from cinnamon rolls; but if you want more structure and consistency, give bread flours a chance.
Is it better to use brown sugar or white sugar for cinnamon rolls?
In theory, white granulated sugar is used for the dough, brown sugar is used for the filling (because it has a caramel-like flavor); and powdered sugar is used for the glaze. Some people also use variations like dark brown sugar or light brown sugar for the filling.
How long do homemade cinnamon rolls last?
Cinnamon rolls are best eaten warm and fresh, but they can last a full week if stored in the refrigerator and up to four days in an airtight container left at room temperature.
Can you freeze cinnamon rolls?
Yes, you can store them in a freezer bag and freeze them for 2-3 months. Thaw them at room temperature and then heat them in the oven at 350 ºF for about 10 minutes.


