How To Make Delicious Pasta At Home

3 Quart Stock Pot | Silver | Oberon Series
Quick-Step Overview for How to Make Pasta
- Gather ingredients.
- Combine all ingredients in either a bowl, on your counter, or in your food processor until it becomes a crumbly texture.
- Knead your dough until the texture is smooth (anywhere from 2-10 minutes).
- Pat the dough into a ball and cover to rest for at least 30 minutes.
- Roll out your dough and cut it into the desired shape.
- Bring a pot of boiling salted water to a boil and drop fresh pasta in.
- Stir and cook until pasta is al dente, then enjoy!
There is nothing better than slurping up the remains of your grandmother’s homemade pasta recipe. Whether it’s a delicious fettuccine, a scrumptious stuffed pasta, a simple spaghetti, or a seasonal ravioli, a fresh pasta recipe is the best comfort food to have as we welcome fall. I know what you’re thinking: making homemade pasta dough is far too complicated and time-consuming. It’s not! We’ll show you.
Let us walk you through the recipe process step by step with what ingredients to buy, what kind of equipment you need (bar a stellar pot to cook the pasta dough basically nothing), how to make it, how to store it, and some of the best pots for cooking it. Then we’ll take a look at Dalstrong’s newest culinary film highlighting some of the change-makers we support and answer those remaining questions you might have.
1. Ingredient List
To make a delicious homemade pasta recipe is quite simple really in terms of ingredients. You’ll need flour, water, eggs, salt, and olive oil.
|
2 ½ cups of flour (half “00” and semolina is ideal, but just regular all-purpose flour is fine!) |
|
4 large eggs |
|
4 tablespoons of water (more or less depending on the dough) |
|
1 teaspoon of fine sea salt (any type will do just not the course kind!) |
|
1 tablespoon of olive oil |
2. Equipment Needed

5 Quart Pot | Oberon Series | Dalstrong ©
As with any type of recipe, there are always tools that speed along the process but aren’t necessary. While we always recommend having an apron on hand (particularly when working with flours) the following is a list of suggested equipment for how to make pasta. That said if you don’t have any of these fancier appliances we’ve still got you covered.
Method 1. The old fashioned way:
Bowl:
If you don’t want to mix your ingredients just on a countertop, use a bowl to combine your pasta dough recipe ingredients into a ball.
Rolling pin:
This will be essential for those of you doing it the old school method recipe and not using a pasta maker. Make sure your rolling pin is the right size, too small and you’ll be sweating as you try to roll out every part of your dough.
While we love to make cleanup a little bit less intense, a cutting board is one of those additions that may not be necessary depending on the surface you have to work with. As long as you have a clean, flat surface that you can easily roll some dough out on, you should be good to go.
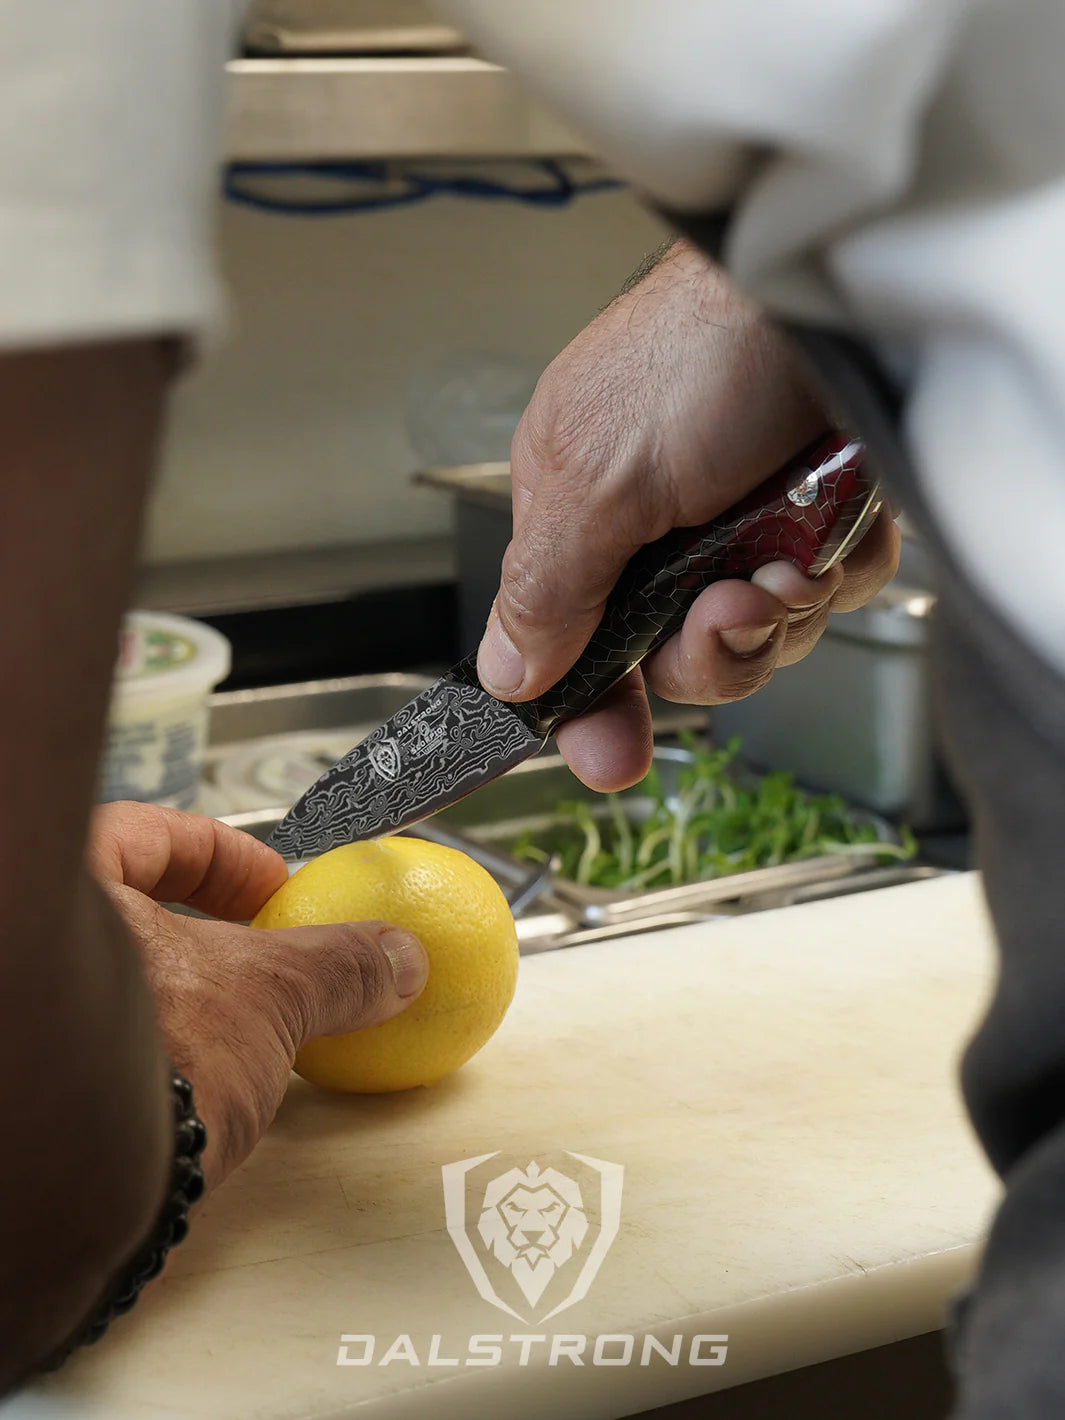
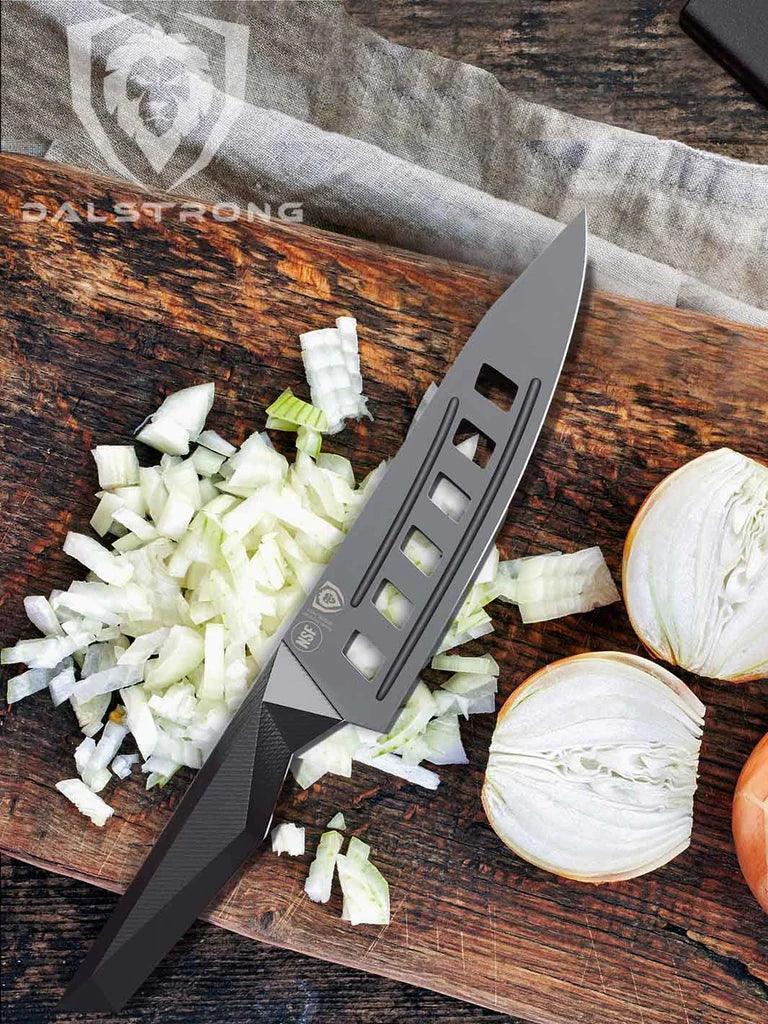
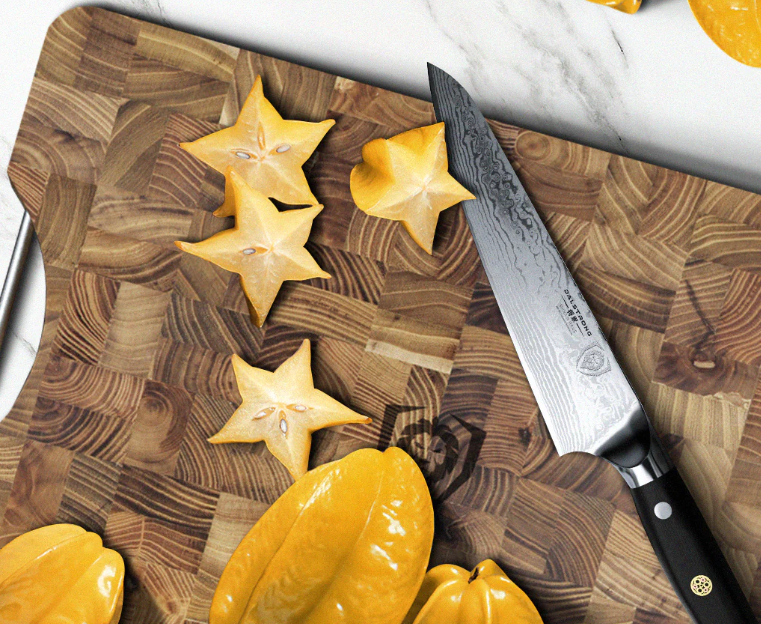
Dough cutter or knife:
You’ll need something sharp to cut the rolled-out dough into your strips of pasta. While I think this handy utility knife would easily get the job done, a dough cutter is just the right size.
Pot:
Once you have the pasta dough ready to go you’ll need a solid pot to boil your salted water in and throw your fresh pasta noodle deliciousness into.
Method 2. The high tech way:
Food processor:
In the event that you want to speed up the mixing of your ingredients for that homemade pasta dough, we recommend a food processor. That said, a good ole fork and bowl will also do the trick.
Pasta maker or stand mixer with pasta attachments:
If you aren’t into the idea of rolling out your dough by hand consider investing in a cheap pasta machine that will shape your pasta dough for you. Another great option is a stand mixer that includes pasta attachments. Both will make your life easier but be warned these two pasta makers will take up storage in your kitchen.
Pasta drying rack:
This is ideal for those of you that 1) truly care about the pasta maintaining its shape while cooked, or 2) those of you making large batches at once. Ideally, you hang dry your pasta for about 30 minutes before cooking, but this step is not essential.
Pot:
The essential last step in the recipe for homemade pasta. A perfect pot, like this one, will allow your water to boil in minutes, ensuring you freshly cooked homemade pasta in no time.
3. How to Make Fresh Homemade Pasta

Chef's Knife 9.5" | Quantum 1 Series
Making fresh pasta is a tale as old as time. If you’ve never ventured to try making your own homemade pasta the time has come. It is the absolute perfect meal to impress your friends and family and bring people together as the weather turns cooler.
The thing about this pasta recipe is that it’s really quite adaptable. Take what we’ve written and do some of your own experimenting. But remember, as long as you have flour, an egg mixture, a bit of salt, some olive oil, pasta cooking water, and a pot on hand you’re set. Of course, if you want to be a bit fancier and use all the “proper” tools, we support that as well.
Let us walk you through two different pasta dough methods. The first is the old school method which requires zero fancy pasta makers and the second recommends you use a food processor, stand mixer, or pasta maker to get the job done.
Either way, we promise you scrumptious homemade pasta at the end that’ll be ready for whatever sauce you want to slather on. Or you could always skip the sauce and scarf it down plain with maybe a bit of fresh parmesan.
|
Prep Time |
58 minutes |
|
Cook Time |
2 minutes |
|
Serving Size |
1 pound of pasta or 12 servings |
1. Making Pasta The Old School Method:

Step 1: Gather ingredients.
- Make sure you have all ingredients on hand. We recommend a flour mixture of “00” flour with semolina for the best consistency. Fun fact, most dried pasta is made of water and semolina flour.
- The reason being that semolina flour tends to stick better to most pasta sauces. That said, if you can’t find semolina or “00” flour, any all-purpose flour that you’re likely to have in your pantry will work just fine.
Step 2: Combine all ingredients in either a bowl, on your counter, or in your food processor until it becomes a crumbly texture.
- This step requires a method known as the well. Since you aren’t using any food processor or mixing machinery it’s best you load your flour onto a countertop or cutting board. Don’t spread the flour out, rather put it in a bit of a pile.
- Use either your finger, a small bowl, or a spoon to create a divet or well in the volcanic mound of flour. You want this to be wide enough so that the eggs will fit inside.
- Once you have that “hole” (which is really just a more shallow indentation in the flour pile) add your eggs to the center of it. You can also drizzle olive oil and a bit of salt here if you’d like.
- Whisk the egg in the center as you gradually continue to add the flour from all sides of the well. Combine and continue to mix until you have a crumbly textured blob.
Step 3: Knead your dough until the texture is smooth (anywhere from 2-10 minutes).
- Now comes the step in the pasta recipe where you have to put in a bit of muscle. In order to knead effectively, you’ll want to press the heel of your hand into the dough. Push down and forward, rotate, and repeat.
- Note: it’s impossible to over-knead your pasta dough. We’re not making pie here people, so don’t be afraid to really put some force into the kneading.
- That said, you’ll want to knead your blob of egg and flour for anywhere between 2-10 minutes. While you can’t knead too much, you can leave your flour concoction out for a bit too long. You’ll know you are finished kneading when your pasta dough looks smooth and has an elastic texture to it.
- Kneading is quite simple when you get the hang of it, just taxing. If you suck at it this time around, I promise you the next time you knead your pasta dough you’ll only get better and better.
Step 4: Pat the dough into a ball and cover to rest for at least 30 minutes.
- This step is really quite straightforward. You’ll want to pat the dough you’ve just kneaded into a ball and cover it with plastic wrap and let it rest for about 30 minutes to an hour. This resting period allows the flour in your homemade pasta dough to hydrate.
- Note: you can also freeze your pasta dough at this step if you’re not interested in making all of the fresh pasta you’ve just created. In that case, you’ll still want to cover the dough in plastic wrap and pat the dough into a ball!
Step 5: Roll out your dough and cut it into the desired shape.
- Whether you’re making ravioli, tagliatelle, spaghetti, or fettuccine you’ll want to cut your dough into the desired pasta shape. But first things first you’ll have to roll out your dough.
- This is where a rolling pin will be essential if you don’t have a pasta roller on hand. First, cut your pasta dough into four pieces. Cover the remaining dough you aren’t rolling right away in plastic wrap and get ready for the fun.
- Take your rolling pin and flatten the dough making sure you’re leaving at least half an inch or so in thickness and roll, roll, roll. Ideally, the shape and size of this rolled-out pasta dough will be even from end to end, but if not no worries.
- If you want to make a filled pasta, ravioli, or lasagna type noodles then no need to cut these further. But for any other type, you’ll need to cut the dough into its desired shape.
- Now you can either use a dough cutter, a pizza roller, or your most trusted utility knife to shape your rolled-out pasta dough into whatever type of pasta you’d like. Note: Fettuccine might be the easiest if you’re going with this method.
Step 6: Bring a pot of boiling salted water to a boil and drop fresh pasta in.
- At this stage, people often hang their cut pasta dough on a drying rack but if you twirl your cut pasta dough into a cute little nest I think it’s an unnecessary step.
- Get your water boiling in your top-of-the-line stock pot and throw some salt into the water for good measure. As soon as you see the pasta water boiling drop your fresh pasta dough in.
Step 7: Stir and cook until pasta is al dente, then enjoy!
- Stir that pasta water immediately and then let rest for anywhere from a minute and a half to two minutes, but no longer! Then add a bit of olive oil and whatever scrumptious sauce recipe you’ve prepared to the pasta noodles and enjoy!
Try Dalstrong's Cookware Finder Quiz Today

2. Making Pasta The High Tech Way:

- In the event that your kitchen is fully stocked there’s no need to roll out your pasta dough by hand. While this method requires a bit more equipment and thus slightly more cleaning, your arms won’t be sore afterward.
- Here I’ll explain two different “high tech” methods. One uses a food processor and pasta maker and the other just uses a stand mixer with its pasta attachments to make the best fresh egg pasta you could ever dream of.
Step 1: Gather ingredients.
- The fun part of making pasta is that you likely have all the ingredients in your kitchen already. We recommend a flour mixture of “00” flour with semolina for the best consistency.
- The reason being that semolina flour tends to stick better to most pasta sauces. That said, if you can’t find semolina or “00” flour, any all-purpose flour that you’re likely to have in your pantry will work just fine.
Step 2: Combine all ingredients in either a bowl, on your counter, or in your food processor until it becomes a crumbly texture.
- Since we’re getting fancy and using a food processor here this part is super easy. Combine your ingredients to the food processor and pulse for roughly 10 minutes. At this point, the pasta dough should look crumbly.
- In the event that you’re actually using a stand mixer (with its pasta attachments), you pretty much follow the same instructions and mix all of your ingredients into the bowl.
Step 3: Knead your dough until the texture is smooth (anywhere from 2-10 minutes).
- Now here we thought we could avoid using our muscles, but you will need to knead the dough mixture for about two minutes if you’ve used a food processor to mix it. To knead effectively, you’ll want to press the heel of your hand into the dough. Push down and forward, rotate, and repeat. Only keep kneading until the mixture feels elastic-like and looks smooth.
- If you used the stand mixer option, you’re in luck as it comes with a built-in pasta roller. You can use the dough hook to mix and knead the pasta dough on low for anywhere from 8 to 10 minutes. That way you can save your hands for chopping up vegetables for that stellar pasta sauce you’ll need to make.
Step 4: Pat the dough into a ball and cover to rest for at least 30 minutes.
- This step is really quite straightforward. You’ll want to pat the dough you’ve just kneaded into a ball and cover it with plastic wrap and let it rest for about 30 minutes to an hour. This resting period allows the flour in your homemade pasta dough to hydrate.
- Note: you can also freeze your pasta dough at this step if you’re not interested in making all of the fresh pasta you’ve just created. In that case, you’ll still want to cover the dough in plastic wrap and pat the dough into a ball!
Step 5: Roll out your dough and cut it into the desired shape.
- Whatever type of pasta machine you have, be it a pasta maker or a stand mixer, you can rest assured that we’ve got you covered.
If you are using a pasta maker:
- For those of you with a grandparent who spent every last Sunday of the month making gnocchi for good luck, you may already have a pasta maker on hand. If so, follow the same instructions as a hand cutter and divide your dough into four parts.
- Cover and set aside dough you aren’t using and then use a bit of flour over a counter to shape the pasta dough into an oval-flat disk of sorts. Now is the fun part where you’re going to go ahead and feed the dough into the pasta maker.
- Fold the dough into thirds and repeat. You’ll want to feed the dough through the pasta maker two to three more times or until it has reached your desired thickness (think half an inch but up to you really!). You’ll want to play around with the settings on your pasta maker during this process, shifting them to see how thick or thin they make the dough.
- Now that it is just the right amount of thickness, you’ll want to put a little bit of flour on your freshly rolled out dough. Next, add your cutting attachment and feed the pasta dough through the machine again. This will give you your desired pasta shape and is hands down the most fulfilling part of the whole exercise.
- Now you can either hang the pasta to rest on a pasta rack or if you don’t have one of those on a baking sheet as you wait for the water to boil.
If you are using a Stand Mixer:
- I like using a stand mixer when possible because it means I’m just working with one machine the entire time. After you’ve made the dough connect the pasta attachment to your mixer and feed the dough through it, folding the dough after the first couple feeds, until it reaches that perfect thickness. Note: if the dough starts to feel a bit sticky you can always lightly flour it between feeds.
- Once it reaches just the right amount of thickness, you’ll want to put a little bit of flour on your freshly rolled out dough. Connect the cutting attachment of your choice and feed your pasta sheet through it. Voila! You have yourself the beginnings of a stellar pasta dish.
- Now you can either hang the pasta to rest on a pasta rack or if you don’t have one of those on a baking sheet as you wait for the water to boil.
Step 6: Bring a pot of boiling salt water to a boil and drop fresh pasta in.
- At this stage, people often hang their cut pasta dough on a drying rack. But if you twirl your cut pasta dough into a cute little nest I think it’s an unnecessary step.
- Get your water boiling in your top-of-the-line stock pot and throw some salt into the water for good measure. As soon as you see the pasta water boiling drop your fresh pasta dough in.
Step 7: Stir and cook until pasta is al dente, then enjoy!
- Stir that pasta water immediately and then let rest for anywhere from a minute and a half to two minutes, but no longer! Then add a bit of olive oil and whatever scrumptious sauce recipe you’ve prepared to the pasta noodles and enjoy!
4. How to Store Your Dough

As with most basic storing methods you just want to make sure no air gets into it. You’ll want to wrap up your remaining dough and transfer it to an airtight container to pop into your fridge for one or two days.
If you’re looking to freeze your dough make sure you cook it within 2 weeks, otherwise it will really lose its freshness. When you are dethawing your dough we recommend putting it in the fridge 4-6 hours before you’re reading to get cooking.
5. Top 5 Pots for Making Pasta
Whether you’re making homemade pasta or just having one of those days where all you can think to cook is a dried pasta known as Kraft Mac n Cheese an absolute kitchen essential is a stellar stock pot. Especially now that fall is upon us, whether you’re cooking soups, fresh ravioli, or even just make boiling water for tea to warm ourselves up.
1. 3 Quart Stock Pot | Avalon Series

Whether you’re making a batch of your famous spaghetti sauce or trying out a new recipe for hot and sour soup, everyone needs a stock pot in their lives. This 3 quart pot will elevate the pots and pans you already have with its sleek design and impeccable function.
Pros
- With a 5-ply copper core foundation, this pot is an absolute beast in terms of heat conductivity, meaning you can sear, roast, boil, deep fry, and always get an even cook.
- This is the pot for all environments. It is oven safe for up to 600 degrees F, dishwasher safe, and good to put in the fridge or freezer if need be.
- With 2.5 mm thickness, you can be sure it won’t warp over time with overheating.
Cons
- If you prefer a similar style but are looking for a non-stick option consider the 3 quart stock pot nonstick version.
- Forged with top-of-the-line materials, the price point reflects its luxury. For a more affordable 3 stock option, try this one.
- 3 quarts is roughly 20 cups of liquid, in other words, a lot. But if you’re looking to make some large batch sauces you may consider a stock pot that holds more than just 3 quarts.
2. 4 Quart Stock Pot | Oberon Series

The same style and absolute luxury, this 4 quart stock pot offers a little bit more room for your cooking needs. Perfect for a ravioli feast or that post-Thanksgiving turkey soup you can’t go wrong with this beautiful pot in your kitchen.
Pros
- On top of its 3-ply copper core foundation, this pot is fused with thick layers of 18/10 stainless steel, meaning this baby will last a lifetime.
- The brushed finish induction bottom means that no matter what kind of stove you have this pot will work wonders for you.
- The price point on this pot is absolutely stellar if you’re looking for a long-lasting pot at a bargain price.
Cons
- I love that the 4 quart gives us a bit more sauce room to play with, but if you’re cooking for an entire football team you might want to consider the 12 quart option.
- Still made with stellar heat conductivity capabilities, if you’re looking to up the 3-ply copper foundation go with the first option on the list.
- I love the classic steel look and think it fits well with every kitchen, but if you’re not a traditionalist you may prefer the darker finish of this pot.
3. 5 Quart Sauce Pot | Oberon Series

Have you guessed it by now that we’re gradually going up in quarts? For those of you that want a middle-of-the-road (in terms of quantity) sauce pot, this is the absolute best in the game. It holds a whole lot of liquid but won’t take up your entire kitchen when you go to store it.
Pros
- The size of this pot is the absolute best in my opinion. It can hold a whole lot of whatever sauce you’re making but won’t overwhelm your pot and pan cabinet.
- The thickness of this pot ensures its long-lasting durability. It won’t warp under high heat or be suspectable to those pesky scratches.
- Its 3-ply copper foundation ensures heat conductivity that will provide a stellar sear or saute every single time.
Cons
- While I think the 5 quart is ideal if you’re looking for something bigger try an 8 quart option.
- Now if you’re looking for a slightly smaller option, you know that there are some stellar 3 quart pots available as well, like this one.
-
With its size, the price point makes a lot of sense, but it is not the cheapest item on this list of sauce pots.
4. 8 Quart Stock Pot | Avalon Series

If you’re from a large family like I am you know these types of pots are more than necessary for a big pasta feed. The perfect pot to entertain a dinner party with your freshly made homemade pasta, this is a pot that won’t ever let you down.
Pros
- You just can’t beat the heat conductivity of a 5-ply copper forged foundation. It truly heats like nobody’s business.
- The ideal pot for those huge sauce-making parties, cleanup is made easy as it’s absolutely dishwasher safe.
- Whether you’re cooking an omelette or a stew the 18/10 stainless steel will heat thoroughly and flawlessly to preserve the nutrients of whatever you throw its way.
Cons
- Not everyone is going to have room for a pot this size in their tiny kitchen apartments. We get it, it’s big. Consider this smaller 5 quart option instead.
- While I think the look of this pot is an absolute pro, if you’re a strictly silver steel type of person this may not be for you.
- Again, the price of this pot is absolutely worth the investment but for those on a budget, this may not be the ideal choice.
5. 12 Quart Aluminum Stock Pot | Oberon Series

Cooked pasta for a banquet hall of people has never been so easy with this beautiful aluminum stock pot. It can hold up to 12 quarts without sacrificing prime heat conductivity and style.
Pros
- This is one of the most compatible stock pots on the market. This post has been optimized for an induction stove but will work wonders on any stovetop.
- Oven and broiler safe for up to 600 degrees Fahrenheit you can cook a huge batch of chili the night before for those Sunday football games and let it warm up in the oven risk-free.
- Made with a 3-ply aluminum core you can be sure to get an even cook every single time.
Cons
- This is a very large pot to house in a one-bedroom apartment or if you have multiple pasta makers, food processors, etc. For a smaller pot consider a 4 quart or 5 quart option.
- The price, considering how much soup or sauce this bad boy can hold, is quite a steal. That said there are more budget-friendly options higher up on this list.
- If you’re in the market for strictly non-stick pots and pans, this may not be for you. But luckily there is a 3 quart stock pot that’s non-stick.
6. Frequently Asked Questions About Making Pasta

How do you make pasta step by step?
Follow the procedure detailed above! There is a recipe for those without any added kitchen tools and a recipe for those with a fully loaded appliance option. Then make those recipes again and again and again so you can truly perfect the pasta-making process.
What ingredients are used in pasta?
The recipe is quite simple: flour, eggs, olive oil, any sort of added herbs or flavor that your heart desires, and salt!
Can you use normal flour for pasta?
You totally can. Here’s a little secret, despite what a recipe might say, you can pretty much use any flour you have on hand. That said, the “00” flour, or an equal parts mixture of semolina flour with that “00” tends to be my favorite pasta recipe. In a pinch, the all-purpose flour that’s most likely already in your kitchen cabinet will work just fine, though your pasta may taste a bit more doughy.
What is the ratio of eggs to flour for pasta?
This really depends on what you want to do and the type of recipe you are following. Some people swear by only egg yolks recipe, whereas other fresh pasta dough recipes call for full eggs. The idea to keep in mind according to many pasta making chefs is roughly one whole egg and two yolks for every five ounces of flour.