Easy Chef Guide On How To Cook Ham | Plus Glazed Ham Recipe
 Omega Series 12" Slicing & Carving Knife
How To Cook Ham
- Take the ham out of the fridge 1 hour before cooking.
- Preheat the oven to 350 °F.
- Remove the grind and trim some of the fat.
- Cover with foil and bake until the internal temperature is 135°F.
- Take out of the oven and let the ham rest for 15 minutes.
- Let it cool completely before slicing.
I think of Christmas as I’m writing this. But not because ham recipes are traditionally cooked for Christmas dinner; but because they remind me of family, coziness and comfort. In fact, it is common to hear the expression "Christmas Ham" when talking about a baked ham recipe.
Cooking a ham is not difficult, but it does require patience and knowing a few things. So let’s not waste any more time and learn how to properly cook a brown sugar glazed ham recipe!
 Gladiator Series 8" Slicing & Carving Knife
1. Things To Know Before You Cook A Ham Recipe
The type of hamThe type of ham you use directly modifies the steps in any ham recipe. Different kinds of hams will require different treatments; for example, you could get wet-cured, fully cooked hams; or partially cooked; in which case the rind should be removed and the fat should be trimmed before cooking. Spiral hams have been pre-cooked and pre-cut. Dry-cured hams usually require mold removal and soaking to reduce saltiness.
Cooking methodsHam can be roasted (baked ham), fried, boiled, grilled… or even microwaved. But when I read ‘cooking a ham’ I instantly associate it with my oven, and this is the method that we will describe here. But even then, there are several factors that will define the recipe: the type of ham, whether it’s cooked or uncooked, basted with its juices or a glazed ham, covered or uncovered.
Cooking time and temperatureTo calculate how much time it will take you to cook a ham, you have to take into account a few things: the size of the ham, the oven potency, whether the ham is bone-in or a boneless ham… It’s usually said that cooking will take around 15 minutes per pound of weight.
More than time, you should be keeping an eye on temperature. For food safety reasons, an uncooked ham must reach an internal temperature of 160°F. Cooked or partially cooked ham only needs 140°F. This is why we recommend the use of a thermometer for this recipe.
Ham donenessIf at the time of putting this recipe into practice, a food thermometer is not available to check the temperature; you can insert a skewer into the thickest part of the ham, all the way to the center, and observe the juices. If the ham is well cooked, the juices should be clear. If the juices are pinkish, the ham has not yet reached its optimum cooking point and should stay longer in the oven. Repeat the test ten minutes later.
Tools and propsThese are essential for a baked ham recipe:
- A roasting rack, oven-safe skillet, roasting pan or baking dish: It needs to be large enough to accommodate the ham, leaving plenty of room around it, and deep enough to prevent hot cooking juices from spilling or splashing out.
- A slicing or carving knife to work the ham (more on that later).
- A cutting board.
These are desirable, but optional:
- An oven thermometer or instant-read thermometer. Controlling the temperature is the safest way to cook meat.
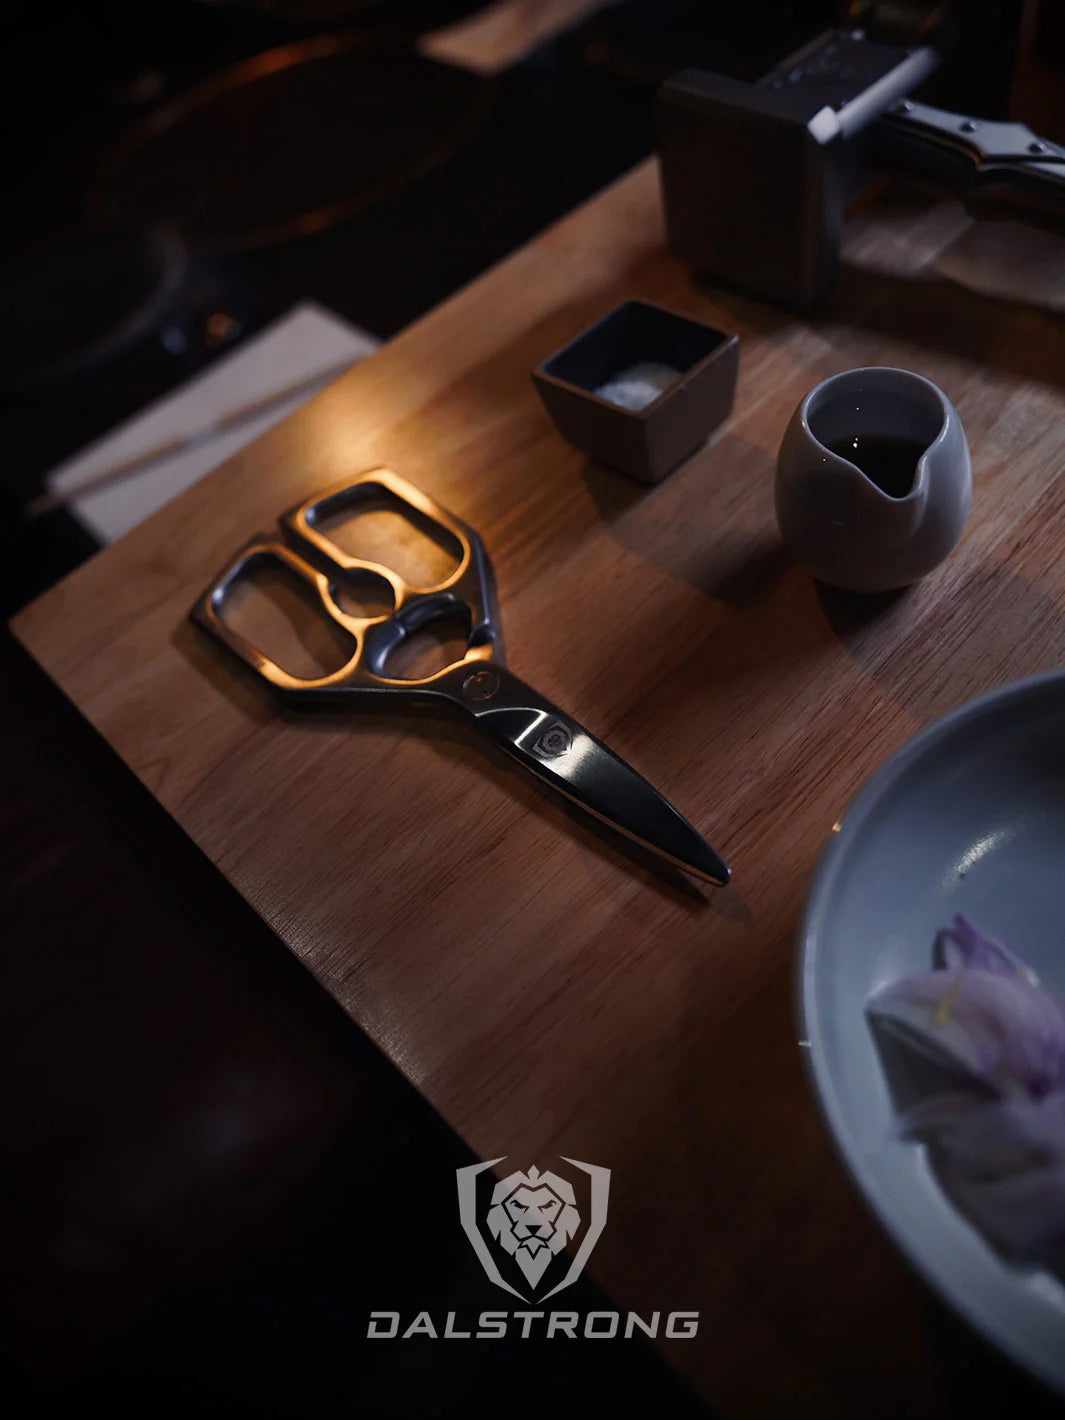
- Meat claws for turning the ham and transferring it from the platter to the board. You can also use a carving fork or a regular pair of kitchen forks.
- Foil. You can cover the ham in the oven, or not. But foil does make the process simpler, better and faster. Plus, covering the ham will prevent it from drying out before applying the ham glaze.
- An apron to protect us from any juices that may splash or spill.
Removing the rind
The rind is the rubbery layer covering the ham. The rind is not edible, and should be removed before consumption. Some hams will come without it, and others will require you to do the job. Removing the rind is a bit intuitive: if you make a cut around the bone handle, you can easily “peel” the rind off with your fingers from there.
Fat: take it or leave it?
You can remove the rind and trim the excess fat before or after cooking. But, if you’re planning on trying this glazed ham recipe, you should leave a considerable amount of fat for the cooking process, because fat is what provides that shiny, sticky, golden glaze we’re looking for in our baked ham.
2. How To Cook A Ham
- Take the ham out of the fridge at least one hour before cooking.
- Preheat the oven to 350 °F.
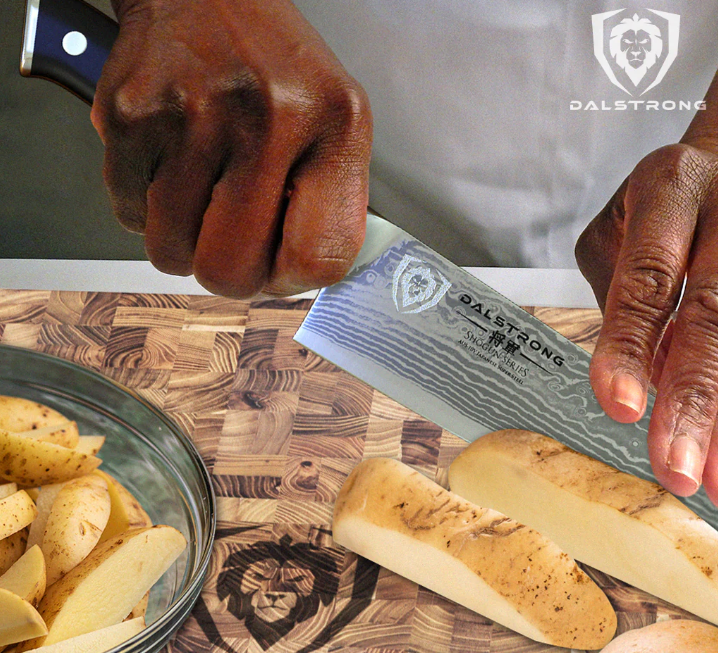
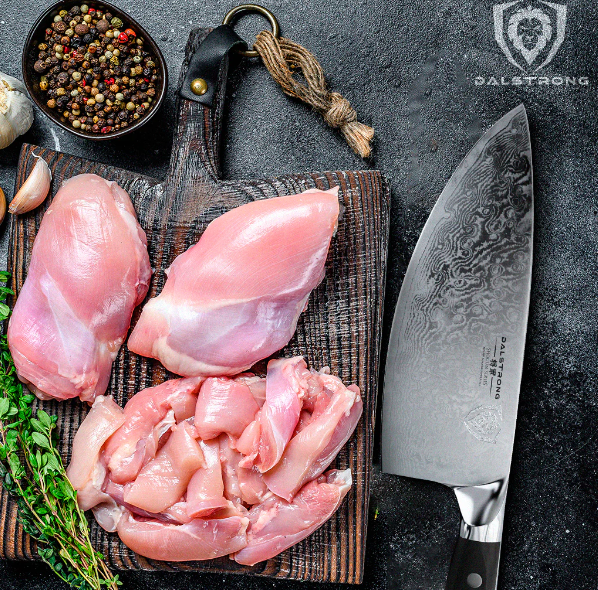
- Remove the grind (make a cut around the ham bone and peel off the skin from there with your fingers) and trim some of the fat (leave a 1/4-inch layer of fat, especially if you’re planning on adding glaze). For this task it is advisable to use a butcher knife.
- Place ham in the oven adding your chosen cooking liquid. You could let the ham cook in its own juices; but it may end up too salty. You can simply pour a cup of ginger ale and a cup of orange juice. If glazing, you should add the glaze towards the end of the cooking process, approximately in the last 20-30 minutes.
- You have the choice to cover the ham with aluminum foil or let it uncovered. Either way, bake until the internal temperature is 135°F. If you don’t have a thermometer, be sure to check the juices.
- Take out of the oven and let the ham rest for 15 minutes. During this time, the ham will continue to cook and will reach an internal temperature of 140°F.
- Let it cool before slicing.
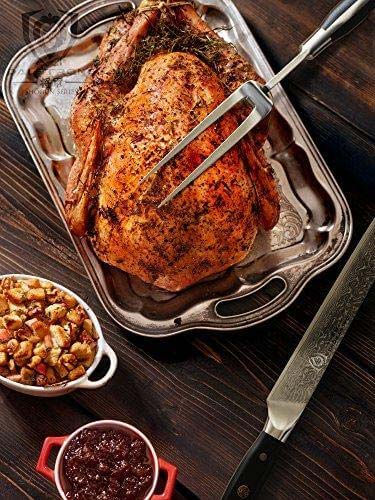
3. Easy Recipe: Brown Sugar Glazed Ham
Servings: A whole ham of approx. 10 pounds will yield about 30 servings.
Time: 3 hours
Ingredients
- 1 fresh ham (10 pounds approx.)
- 1 cup orange juice
- 1/2 cup honey
- 1/2 cup brown sugar
- 2 tablespoons Dijon mustard
- 1/2 teaspoon ground black pepper
- To make the glaze, mix the brown sugar, honey, Dijon mustard and pepper in a bowl.
- Take the ham out of the fridge and let it rest at room temperature for about one hour before cooking.
- Preheat the oven to 350 °F.
- Remove the grind but leave a good layer of fat.
- OPTIONAL: Score the fat to help the brown sugar glaze to adhere to the ham a lot better. This can be done before you cook it or just before you add the glaze (see step 7). To score a ham, make diagonal cuts (about 1/3 inch deep) from top to bottom, leaving one-inch space between them. Then, make cuts in the opposite direction, creating diamond shapes in a lattice pattern.
- Pour the orange juice and cover with foil. Place the ham in the oven and bake for around one hour and a half.
- Usually, the ham glaze is added during the last 30 minutes of cooking time, otherwise it could burn. Remove the foil and pour it generously on top and let it slide between the cuts.
- Baste and brush again with more brown sugar glaze every 15 minutes until the ham is done and the glaze is caramelized (don’t let it get too dark).
- Remove the glazed ham from the oven and let it cool.
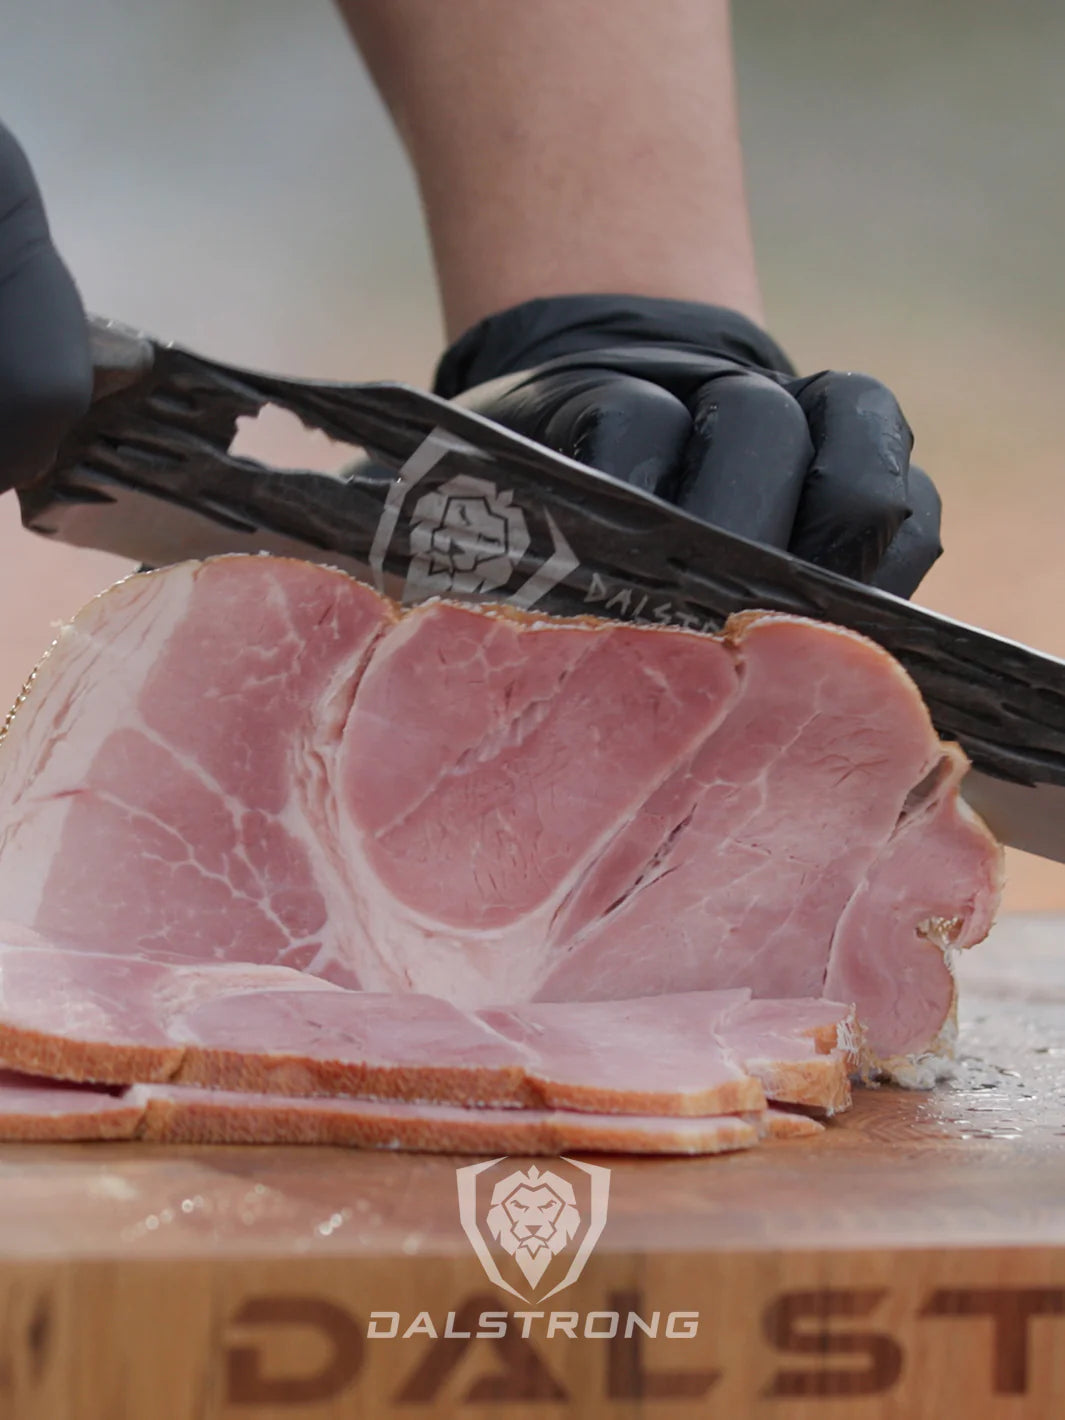
- Once it’s cool, cut it into slices using a carving knife. Drizzle some of the remaining glaze on top when serving.
- The most important step: Enjoy!
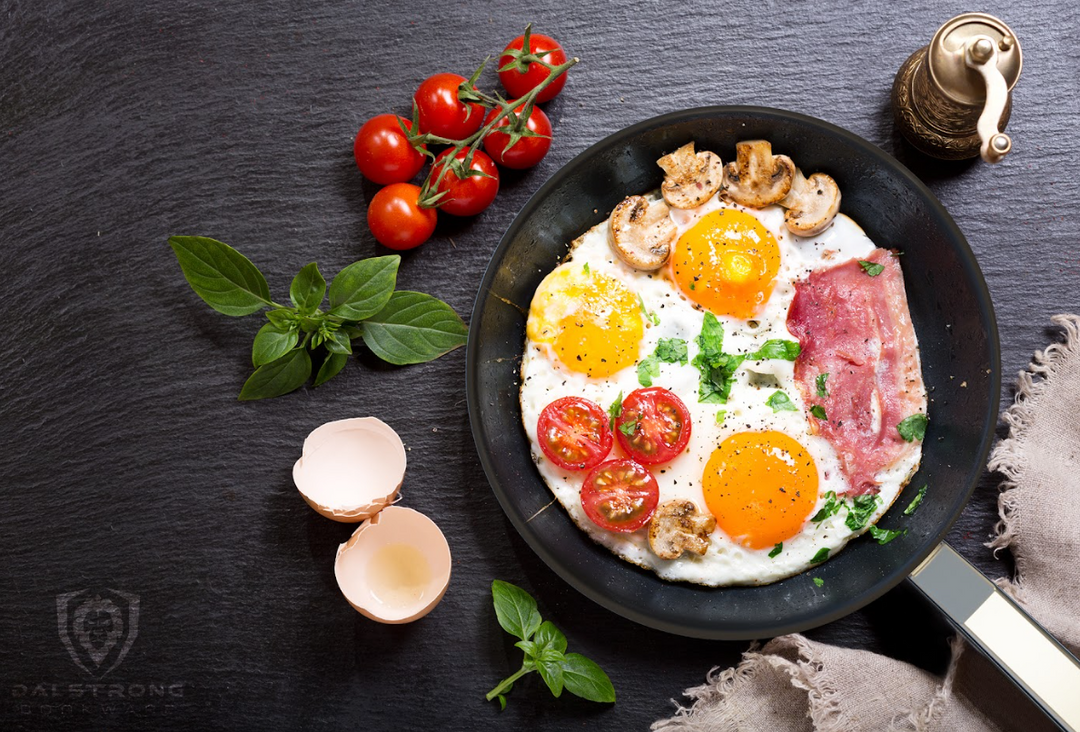
4. Breakfast Recipe For Leftover Ham
After gracefully succeeding at your ham recipe, you will likely end up with some delicious leftover glazed ham in your fridge. The good news is, leftover ham will make a delicious ingredient in your next-day breakfast.
For example, a classic Denver omelet will be an easy, yet hearty recipe that you can customize to your taste with vegetables, ham and cheese. We’ll propose one here as an example, but you can create as many variations as you want!
Recipe for a Denver omelet with leftover ham:
- Brunoise white onion, green bell pepper and red bell pepper.
- Cut a thick slice of the leftover ham and dice it.
- Beat the eggs in a bowl until frothy, then add milk, salt and pepper to taste. Mix well and set aside.
- Preheat a frying pan over medium heat. Melt a bit of butter and a drizzle of olive oil.
- Sweat the onion until tender, then add the ham and peppers.
- When you see the ham starting to caramelize (about 2 minutes should do it), lower the heat, add the egg mixture and let it cook for a minute and a half.
- When the egg is cooked, sprinkle the cheese on top and cover the pan for one minute or until the cheese melts.
- With the help of a spatula, fold the tortilla in half, flip and let it brown a little more.
- Remove from heat and serve warm.
If we’re talking about brunch here, then serve with toast, orange juice, fruit salad, coffee and why not, a fresh mimosa!
5. Other Ham Recipes To Try
Brown sugar glazed ham is the most popular recipe; but you can also prepare:
- Maple glazed ham (with maple syrup)
- Pineapple glazed ham (with pineapple juice)
- Ham with apple glaze (apple juice, brown sugar and mustard)
- Balsamic and dijon ham (with balsamic vinegar and dijon mustard)
- Baked ham and cheese sandwiches
- Ham and cheese scrambled eggs
- Pasta carbonara
- Ham and cheese quiches
- Croque madame
- Ham and cheese casserole
- Cheesy ham scalloped potato
- Cauliflower cheese with ham
- Mac and cheese with leftover ham
- Honey mustard ham
- Classic honey baked ham recipe
6. Ham Nutrition Information And Health Benefits
(Estimated values based on a serving of 130 g)
|
Calories |
186 kcal |
|
Fat |
6,8 g |
|
Cholesterol |
86 mg |
|
Sodium |
1309 mg |
|
Potassium |
462 mg |
|
Carbohydrates |
1,4 g |
|
Fiber |
0 g |
|
Sugar |
1,4 g |
|
Protein |
30 g |
Ham has nutritional benefits that make it a fair addition to your diet.
For starters, ham is rich in high-quality protein, which is important for the growth and repair of muscles, bones or other tissues. Eating ham is healthier compared to other red meats which are rich in saturated fat.
Like other pork products, ham is a source of vitamins (more vitamins from the B complex than chicken and white fish). Ham also has minerals like iron, zinc, selenium, phosphorus, magnesium and potassium, which favor the immune system and bones.
7. Best Knives To Cut Ham With
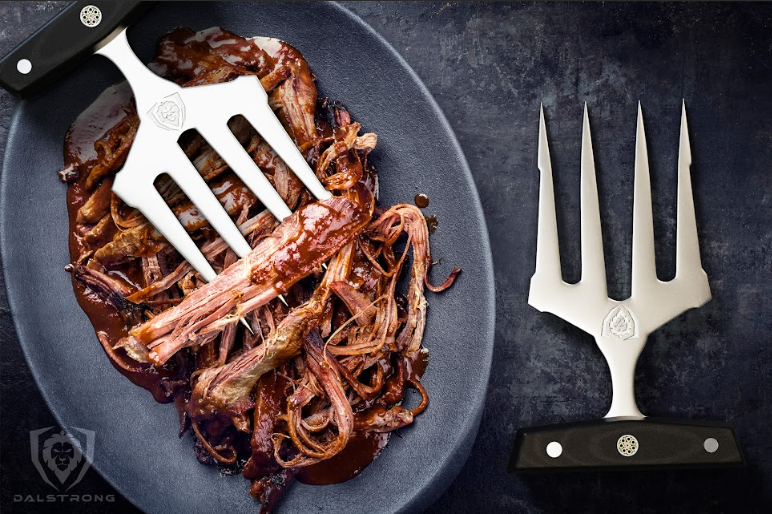
1) Carving Knife & Fork Set 9" | Gladiator Series

When it comes to slicing ham, after careful preparation and baking, you will need the proper tools for slicing without tearing all your work apart. This set from the Gladiator series is ideal for a passionate, yet practical cook who wants to serve the perfect baked ham with the mastery of a chef.
PROS
- The set contains all the tools you need for a ham recipe: a carving knife, a carving fork and a honing rod, all for a great price.
- Elegant and made of top-quality materials.
- The knife blade has oval-shaped divots that minimize friction and prevent food from sticking (less risk for the ham to tear apart).
CONS
- You might prefer to combine tools from different Dalstrong series to create your own set.
- Depending on the type of food you frequently cook; you may not need a whole set, at all. Once you get one it really changes the game, though.
2) Slicing & Carving Knife 12" | Omega Series

Thin, ultra-thin, or however thin you prefer your ham slices, the result will always be uniform and clean. But this knife also has the size, flexibility and edge to work roasts, poultry, large fruits and vegetables, bread, pastries… you name it!
PROS
- Forged with premium steel, featuring extra nitrogen and vacuum treatment for hardness, flexibility and maximum strength.
- The 8-12° angle on the blade promises a clean cut. Your ham will not break or tear.
- The 'Liquid Metal' pattern on the blade is not only eye-catching, but it also maximizes efficiency in every cut.
- Ergonomic handle designed for better grip and control.
CONS
- Depending on what you really need, you may prefer a less flexible, but more sturdy blade.
- The price of this knife may not fit the budget you reserved for a carving knife.
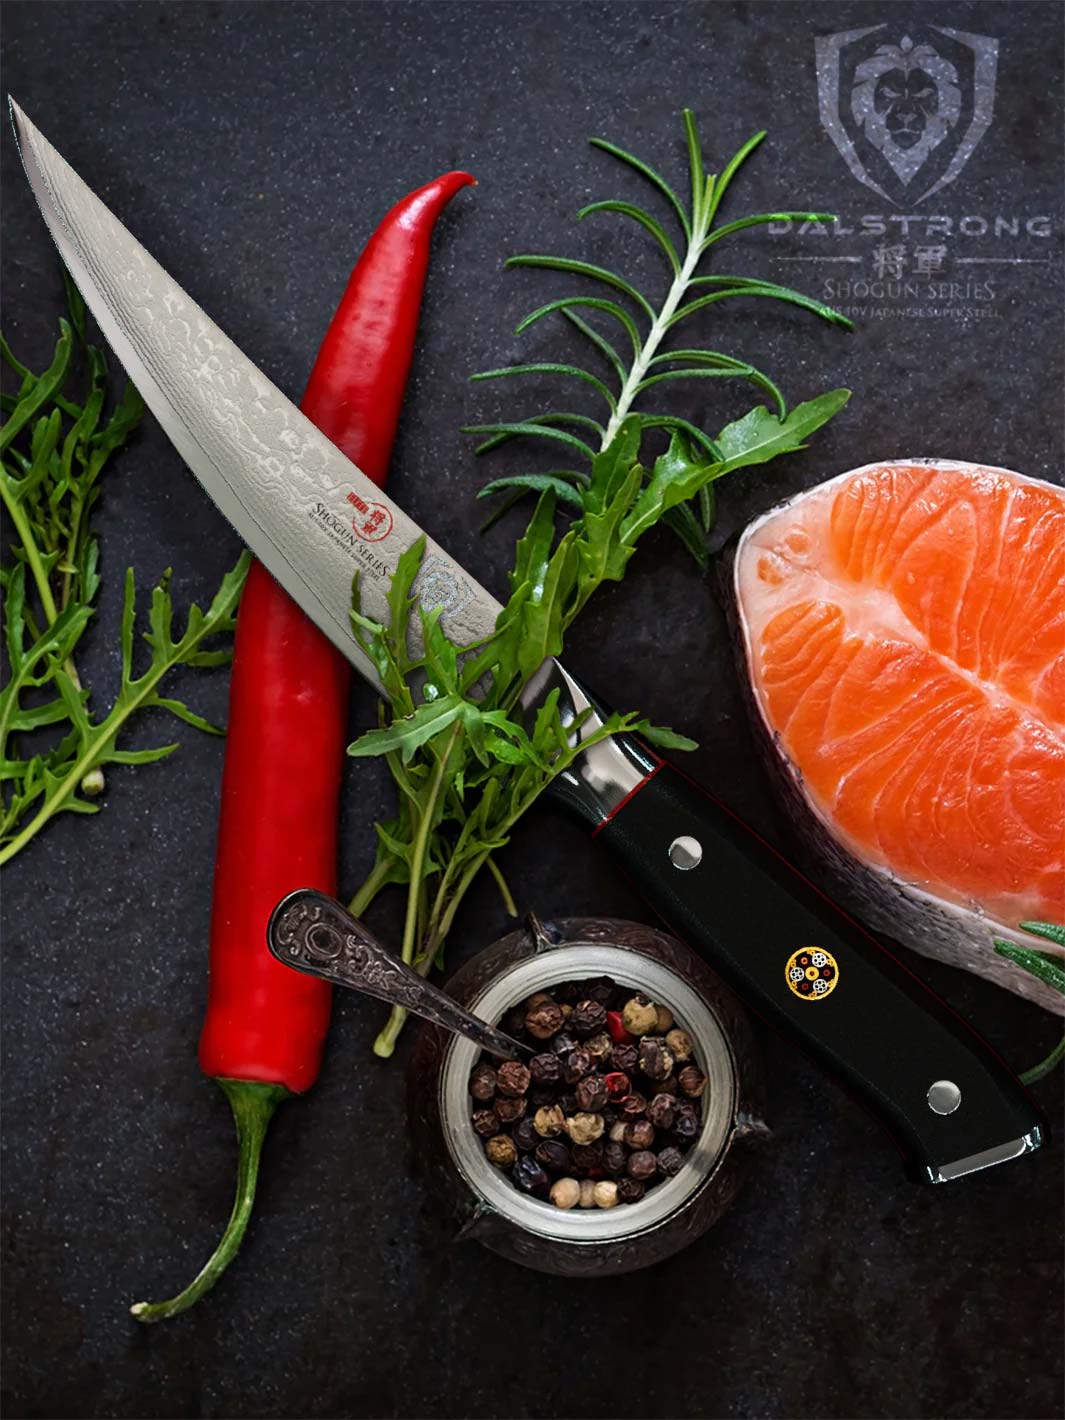
3) Spanish Style Meat & Ham Slicer 12" | Shogun Series

When it comes to cured ham, this knife from the Shogun series is unbeatable. You can cut extra-thin slices in the best Iberian style. The narrow, long blade is extremely beautiful and powerful; perfect for professionals and foodies in general.
PROS
- Smooth cuts: the blade slides easily through ham, meat or salmon.
- Japanese steel ensures maximum performance and wear resistance.
- Flexible and maneuverable. You can handle it naturally, without having to use force.
- The Tsunami Rose visual pattern on the blade, characteristic of Dalstrong's Shogun series, gives it unique beauty and style.
CONS
- For better or for worse, this knife will certainly draw everyone’s attention. I’m guessing it’s a better choice for extroverted, uninhibited personalities.
- The price tag can make you overthink: do I really need a Spanish Ham Slicer? (but hey, the answer may be yes).
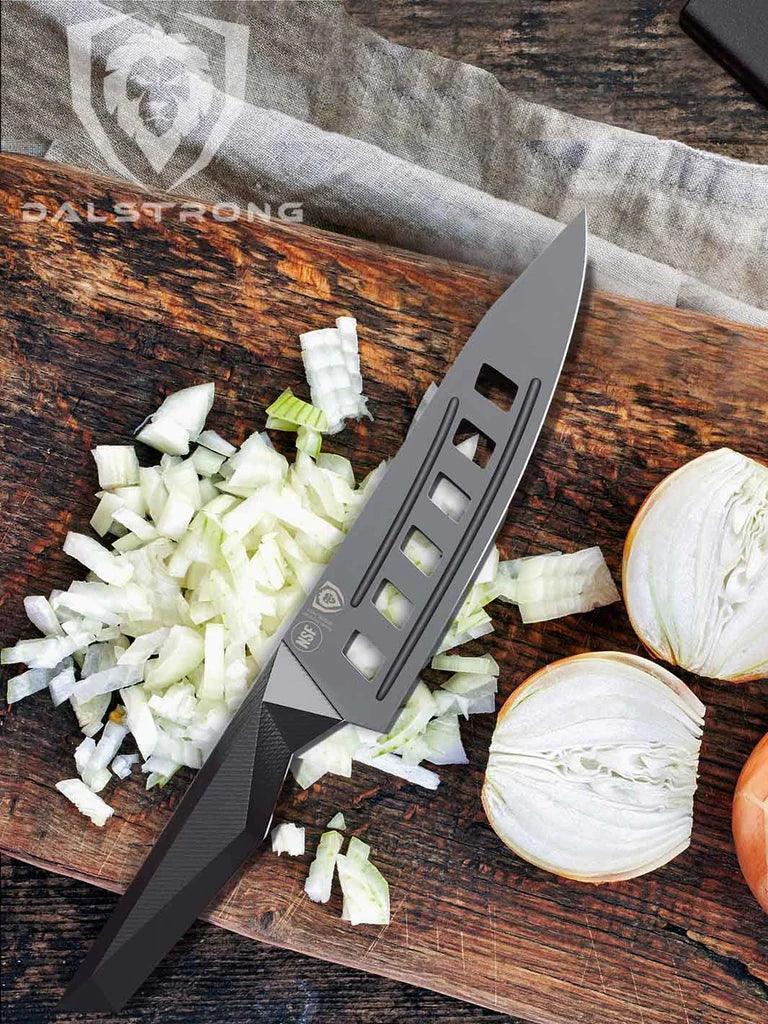
4) Slicing Carving Knife 8" | Gladiator Series

A practical, yet highly efficient knife. The fact that it is so comfortable and maneuverable means you can use it for roasts of meat, poultry, bread or fish (that is, of course, aside from slicing your glazed ham).
PROS
- Forged from German high carbon steel (super wear resistant!)
- The indentations on the blade prevent food from sticking.
- The round tip makes it safer than most carving knives.
- High quality at an affordable price.
CONS
- Some may find this option a little short in length for a carving knife, and prefer a 10”, a 12” or even a 14” blade.
- Although its classic design will fit every kitchen style, some people may be looking for a more flashy, bald design.
5) Slicing & Carving Knife 14" | Shadow Black Series

Like all of Dalstrong's Shadow Black series, this knife’s design is unique and visually striking with its charming geometric design and midnight-black look. And of course, it’s perfectly capable of carving, slicing and working perfect slices of the ham recipe you spent several hours preparing.
PROS
- The titanium-nitride coating, non-reflective and totally black, improves the knife's strength and protects it from wear and tear.
- The coating also keeps the blade cleaner for longer.
- Small indentations in the blade allow air to enter for a clean, thin, delicate cut.
- The sharp lines on the handle allow for a perfect grip.
CONS
- This carving knife is one of the longest available. It takes some time to learn how to maneuver this kind of length.
- Some people prefer a more traditional look.
8. Frequently Asked Questions About Cooking Ham
Can I cook ham in a slow cooker?
Yes! Slow cooker ham is even juicier than oven-cooked ham.
Can I make instant pot ham?
Absolutely! An instant-pot honey baked ham is another delicious and easy recipe that you can enjoy any day.
Can I cook ham in an air fryer?
Yes you can, air fryer ham will be ready a lot faster and it’s perfect when you don’t want to cook a whole ham.