How To Cut Potatoes Into Fries
Quick Overview: How To Cut Potatoes Into Fries
- Wash and dry the potatoes thoroughly. Peel the skin off if you prefer.
- Peel the potato carefully and cut off both ends.
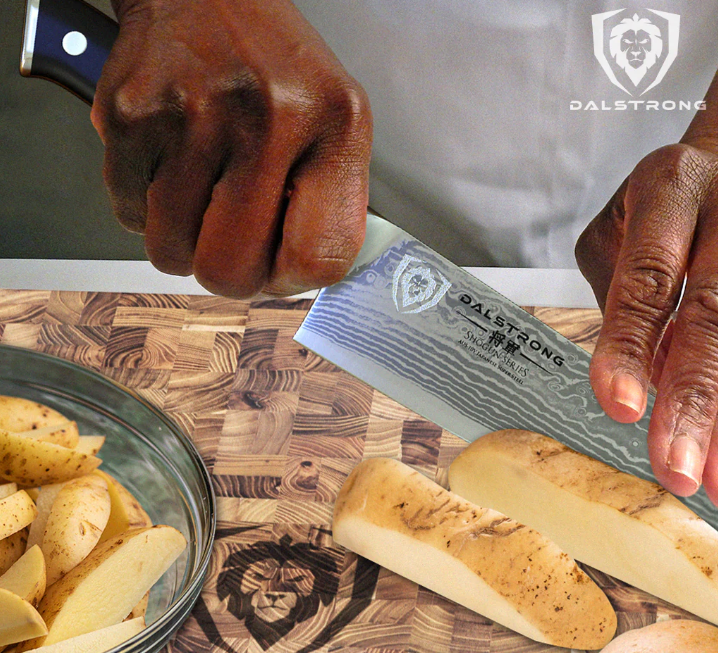
- Slice the potato lengthwise into thin slices.
- Stack these slices and cut them lengthwise into ¼ inch strips, creating the perfect french fry shape.
- Adjust the thickness of the fries based on your preference. You can use a crinkle cutter for a fun shape.
The perfect partner for any pint of beer. The chosen side for any sandwich or burger. And the easiest and most-known snack: french fries! French fries are undoubtedly a classic comfort food that almost everyone loves.
And while it's easy to order them at a restaurant or grab a bag of frozen fries from the grocery store, nothing compares to the taste of homemade french fries. A personalized homemade snack with the seasoning and sauces that you like the most is priceless.
Making potatoes into perfect fries may seem intimidating for some — especially for those people who are not friends of hot oil or don’t have much knife skills—but with the right techniques and the right pair of Dalstrong tools, it can be quite easy.
In this blog post, we’ll learn different methods of how to cut potatoes into fries, some pro tips on making homemade french fries like a chef, and some Dalstrong products that can help you along the way.
1. Different Methods: How To Cut Potatoes Into Fries
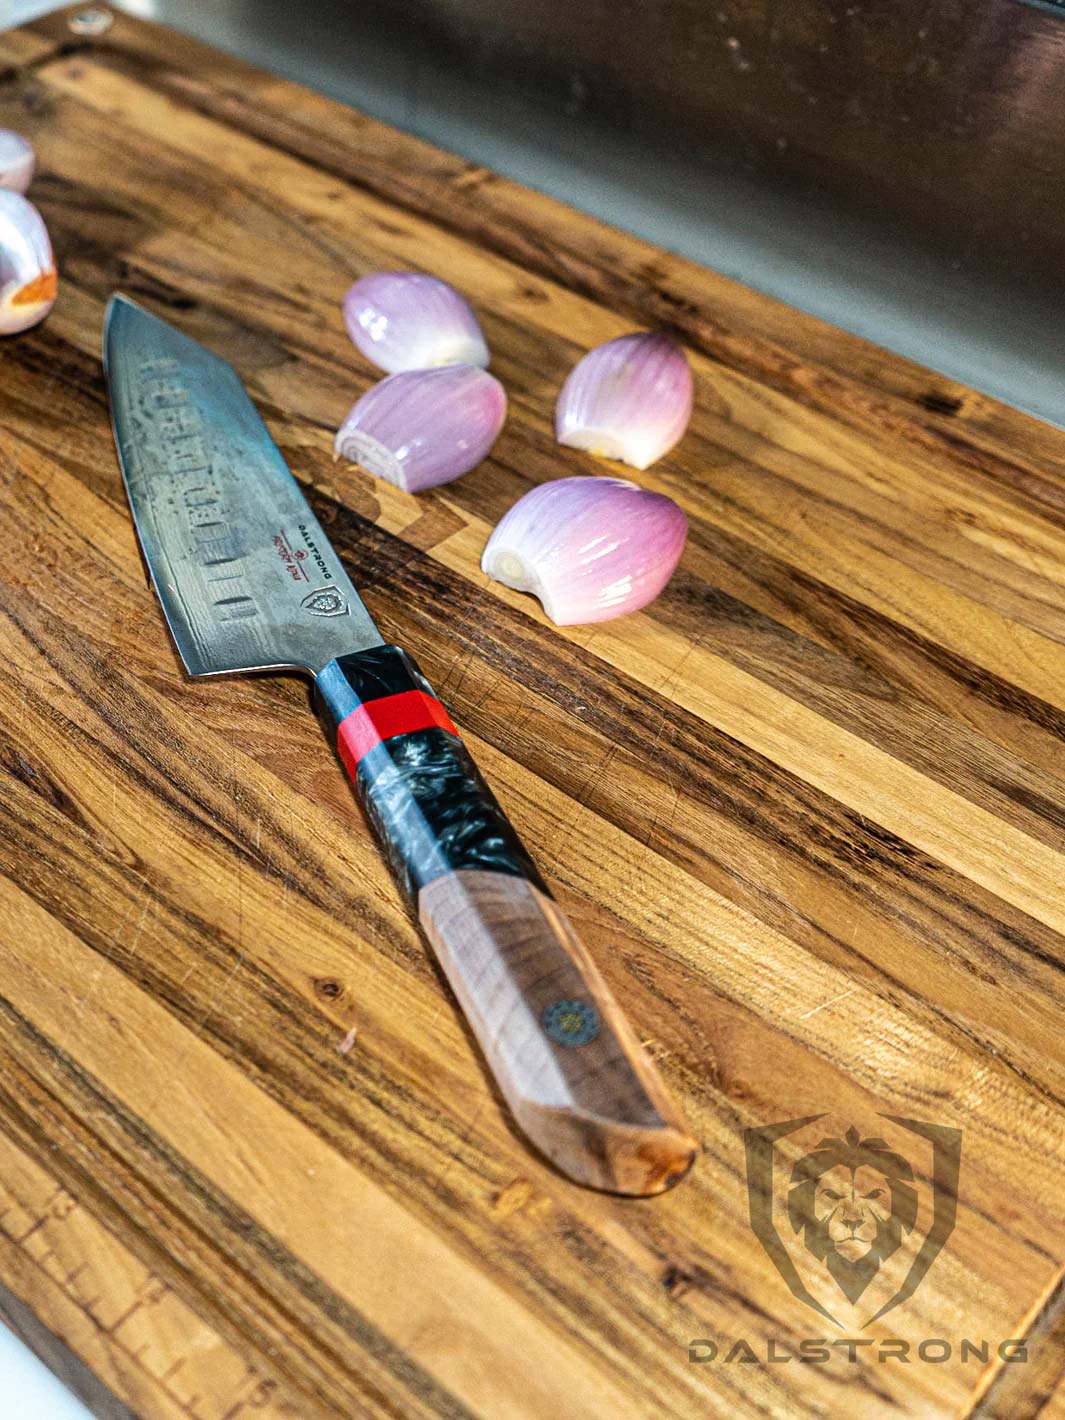
 Chef's Knife 8" Firestorm Alpha Series | Dalstrong
There are a few different methods of cutting potatoes into fries to choose from:
Classic French Fry Cut
The classic French fry cut involves slicing the potato lengthwise into thin slices, then cutting those slices lengthwise into thin strips. The thickness of the fries is usually up to personal preference, however, a good rule of thumb is to make them approximately 1/4 inch thick. This method is great for making crispy french fries.
Shoestring Cut
The shoestring cut involves slicing the potato lengthwise into very thin slices, then cutting those slices lengthwise into very thin strips. The thickness of the fries should be around 1/8 inch. This method is great for making thin and crispy fries.
Wedge Cut
The wedge cut involves cutting the potato into wedges, then cutting those wedges into smaller pieces. This method is great for making thicker and more rustic fries.
Curly Fry Cut
The curly fry cut involves using a spiralizer or a special curly fry cutter to create the signature spiral shape of curly fries. This method is great for adding a fun twist to your fries.
2. Pro Tips On Making Homemade Fries
 Y Peeler - Stainless Steel Blade
Now that you know the basic methods for cutting fries, here are some pro tips that will surely to help you make the perfect homemade fries:
- The best potatoes for french fries are russet potatoes, Yukon gold potatoes, and sweet potatoes.
- In a bowl, soak the potatoes in cold water for about 20-30 minutes to remove the excess starch.
- Dry the potatoes thoroughly before cooking — moisture on the potatoes can prevent them from getting crispy.
- If you’re frying the potatoes, don’t overcrowd the pan; this can cause the fries to steam instead of crisp up.
- Heat the oil to 375°F for optimal frying.
- For extra crispy homemade french fries, fry them twice. First, fry the potatoes for 5 minutes until they are cooked but not browned. Let the fries cool for at least 10 minutes, and fry them again for another 3 minutes until they become golden brown and crispy.
- When baking in the oven, make sure that the fries are placed in a single layer and not touching each other. This will allow the fries to cook evenly and become crispy.
- Season the fries immediately after frying while they are still hot for maximum flavor.
3. Dalstrong Products You Need
When it comes to making homemade french fries, having the right tools is essential. Here are some Dalstrong products you need to make perfect fries every time:
It offers precision for clean cuts, with enough “give” to maintain your knife’s sharpness after use. This cutting board is an investment that will surely outlive many of your favorite kitchen tools.
PROS:
- Made of tropical teak wood — known to have impressive durability and moisture resistance due to its natural oils.
- It's a statement piece that’s perfect for serving as well as preparing.
CONS:
- You might need to buy a rubberwood stand to store it.
- It might be bigger than most cooks would expect.
Looking for a different material? We have a variety of cutting boards just for you.
The suspended, swivel-peeler blade self-adjusts to the surface of the food you are peeling, allowing you to maneuver around tight spaces, protrusions, and corners effortlessly.
PROS:
- Ample space between the blade and bridge ensures that food won’t get stuck inside the peeler while working.
- Three Japanese stainless steel blades for every task: fine, serrated, and julienne.
- Easily change blades or remove them for cleaning with the simple locking system.
CONS:
- After some years, you might need to buy new blades.
- Some might prefer a swivel straight peeler for more comfort.
3. Chef's Knife 8" | Centurion Series
With this versatile all-in-one blade, you won’t need much knife skills. This is the go-to chef knife for most professional chefs and home cooks, offering ultimate control as you slice, dice, chop, and mince your way through.
PROS:
- Broad blade for easy food transfer.
- Slightly curved edge for rock chop or push cut style.
- Features an ergonomic handle designed for maximum comfort, grip, and maneuverability.
CONS:
- Many would prefer a more innovative design.
- You may also prefer a classic 10" chef's knife.
4. 10” Frying Pan & Skillet | Oberon Series
From thick proteins to stir-fried vegetables and delicate omelets, this professional cookware allows for precise searing, browning, sautéing, deep-frying, quick boiling, sauces, and more.
PROS:
- Ultra-strong 2.5mm thickness that will never dent or warp under prolonged heat.
- Perfect for professional chefs or cooks connoisseurs.
CONS:
- To prevent accidents, some may prefer a wood or plastic handle.
- For larger amounts of food, this pan size would slow down your cooking time a little.
When frying any ingredient, having the best apron for you is the perfect way to prevent any unwanted accidents. This light-weight apron will help you with any kitchen duty.
PROS:
- Three front pockets and one stash pocket to help you have utensils at hand.
- Resistant leather on engravings and fixings.
CONS:
- Oil or sauce stains could be hard to clean if not attended to immediately.
- To improve protection and cleaning, you might prefer a nonstick leather apron, like the culinary commander.
4. Easy Potato Fries Recipe
 9.5'' Chef's Knife | Shogun Series | Dalstrong ©
After learning how to cut fries the right way, it’s time for some home fries recipe.
Most fries recipes include massive amounts of boiling oil and a frying pan. This recipe will lower the risk of getting burned – we’ll use an oven!
If you're like many others who have claimed that McDonald’s french fries are the best, after following this simple oven baked french fries recipe, you’ll definitely change your mind. Your homemade crispy french fries will become the only ones you want to try.
Ingredients You’ll Need:
- 4 russet potatoes
- 2 tablespoons olive oil
- 1 teaspoon salt
- 1/2 teaspoon black pepper
- 1/2 teaspoon garlic powder
- 1/4 teaspoon paprika
Cooking Instructions:
- Preheat the oven to 425°F.
- Wash and dry the potatoes thoroughly. Peel the skin off if you prefer.
- Peel the potato carefully and cut off both ends.
- Slice the potato lengthwise into thin slices.
- Stack these slices and cut them lengthwise into ¼ inch strips, creating the perfect french fry shape.
- Adjust the thickness of the fries and the shape based on your preference.
- In a large bowl, soak the fries with cold water for 30 minutes.
- Drain the water first and then use paper towels to pat the fries dry.
- In a bowl, combine your olive oil, salt, black pepper, garlic powder, and paprika.
- Toss the fries in the seasoning mixture until well coated.
- Your baking sheet must be lined with parchment paper and then spread the fries out.
- Bake the fries for 20-25 minutes. Flip them halfway through until they become golden brown and crispy.
- Remove the fries from the oven. Best served hot with any of your favorite sauce or topping.
Quick note: if you want to experiment with some mix of flavors, try this recipe for sweet potato fries.
5. Frequently Asked Questions
How do you cut a potato for fries?
To cut a potato into fries, start by peeling the potato and cutting off both ends. Next, evenly cut the potato lengthwise about ¼ inch thick. Stack these slices and cut them lengthwise into ¼ inch strips, creating the fry shape. You may adjust the thickness based on your preference.
Should you soak cut potatoes in water before frying?
Yes, we recommend soaking cut potatoes in cold water before frying. Soaking helps remove excess starch from the surface of the potato, which prevents the fries from sticking together during frying. It also helps to create a crispier texture and prevent the fries from becoming greasy.
Why do you soak potatoes in water before frying?
As mentioned above, soaking potatoes in water before frying allows the excess starch to be remobed from the surface of the potato, which can prevent the fries from sticking together during frying. It also helps to create a crispier texture and prevent the fries from becoming greasy.
What cutting technique is used in French fries?
French fries are typically cut using the julienne cutting technique, which involves cutting fries into long, thin strips that are roughly the same size and shape. The julienne technique creates fries that are uniformly thin and crisp when fried.
Shop Dalstrong Knives Today
Written by Camila Feijoo
Camila is a foodie by nature. She believes that the best way to get to know a culture is through its food. She always cries while chopping onions; and just like Julia Child, Camila agrees that “with enough butter, anything is good.”


